neulatuntimittari.01 the whole process in pictures
The project can be found at: github link
1. Start
The need or want to know how many hours are ‘on’ a stylus. The general rule of thumb is to change a stylus when 500 hours are up. How does one know when the time is up?
Most people do it by sound, I suppose. Some more neurotic people might do it by marking what they have listened to and summing all of the rows together. Which is very tedious and boring.
I saw online a stylus wear indicator product which aimed to replace the need to manually keep track of hours, just a glimpse of one. I think it only used a reed switch to track how long the platter has been spinning.
At least in my case that works very poorly. My heavy platter Lenco might be spinning for a whole evening, even when I am not listening to anything! It takes so long for it to stop, maybe a minute! I identified this problem right away and figured the other way was either sound detection or detecting the tonearm position.
Sound detection is problematic because what if I want to listen with headphones? Its a rare occasion, but still a case that breaks the system. Also, music is dynamic, sometimes silent, sometimes loud. How to set the threshold for SPL so it accurately detects sound coming from the speakers and differentiates it from other noises in a domestic setting, vacuum cleaner, talking etc.
Now that I am writing this I figure a DL algorithm could be trained to detect music. But what if I listen to a spoken word album? (A very rare case) A more philosophical question could be posed: How does an algorithm know what is music and what isn’t without training with huge datasets.
So that was the starting point. Then after thinking and writing the requirements for the system I started to browse which parts would suit the requirements. I landed on a reed switch for detecting the platter movement and an IR sensor to detect whether or not the tonearm was on the platter or not. An e-paper display for its affordable price and low current consumption. An ESP32 microcontroller, because it was cheap and I have used them many times before. My full thoughts on paper are in neulatuntimittari.
I then started wondering on paper how should this thing look like. Nice and sleek styling with birch plywood, just like the plinth of my turntable. A bigger main box housing a reed switch, the display, a button and the mcu, while a smaller box would house the IR sensor.
The small box is tactically lower than the main box so even if the tonearm was lower, it would still fit under the counterweight. My tonearm is relatively high in the air compared to most other systems.
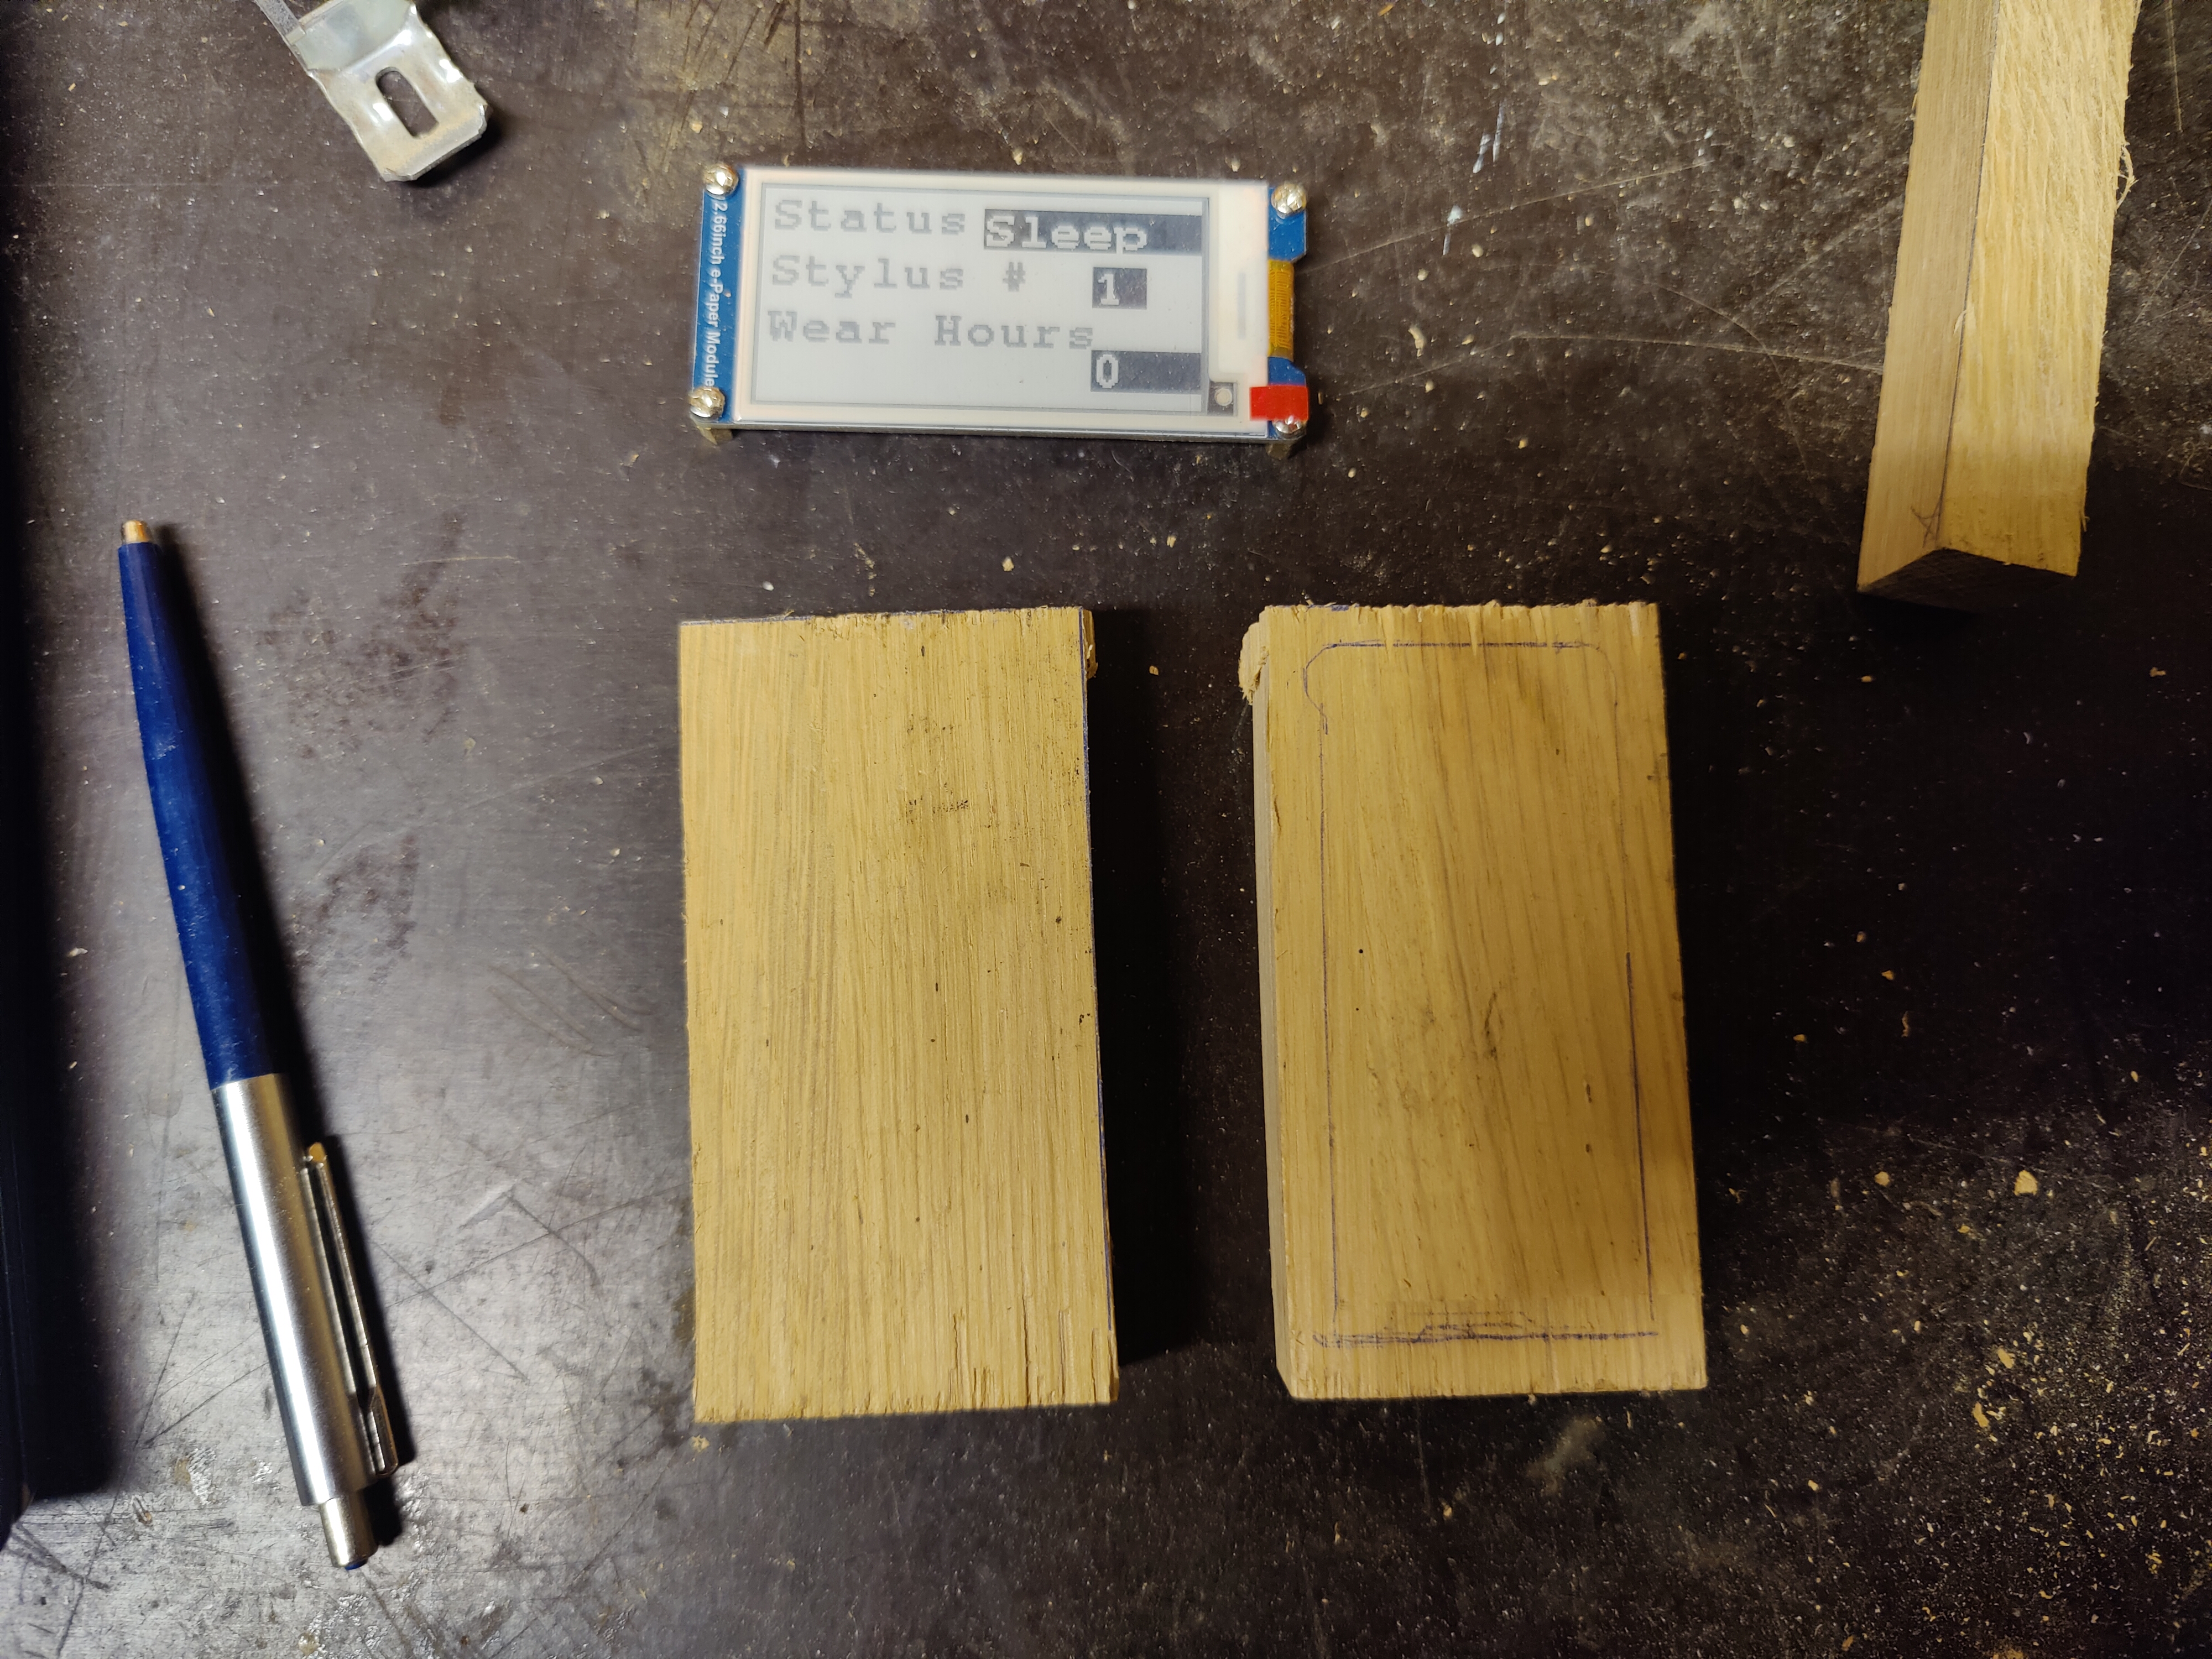
2. Testing the different modules, programming
3. Connecting the modules to the esp32, programming
4. Implementing the RW test setup, programming
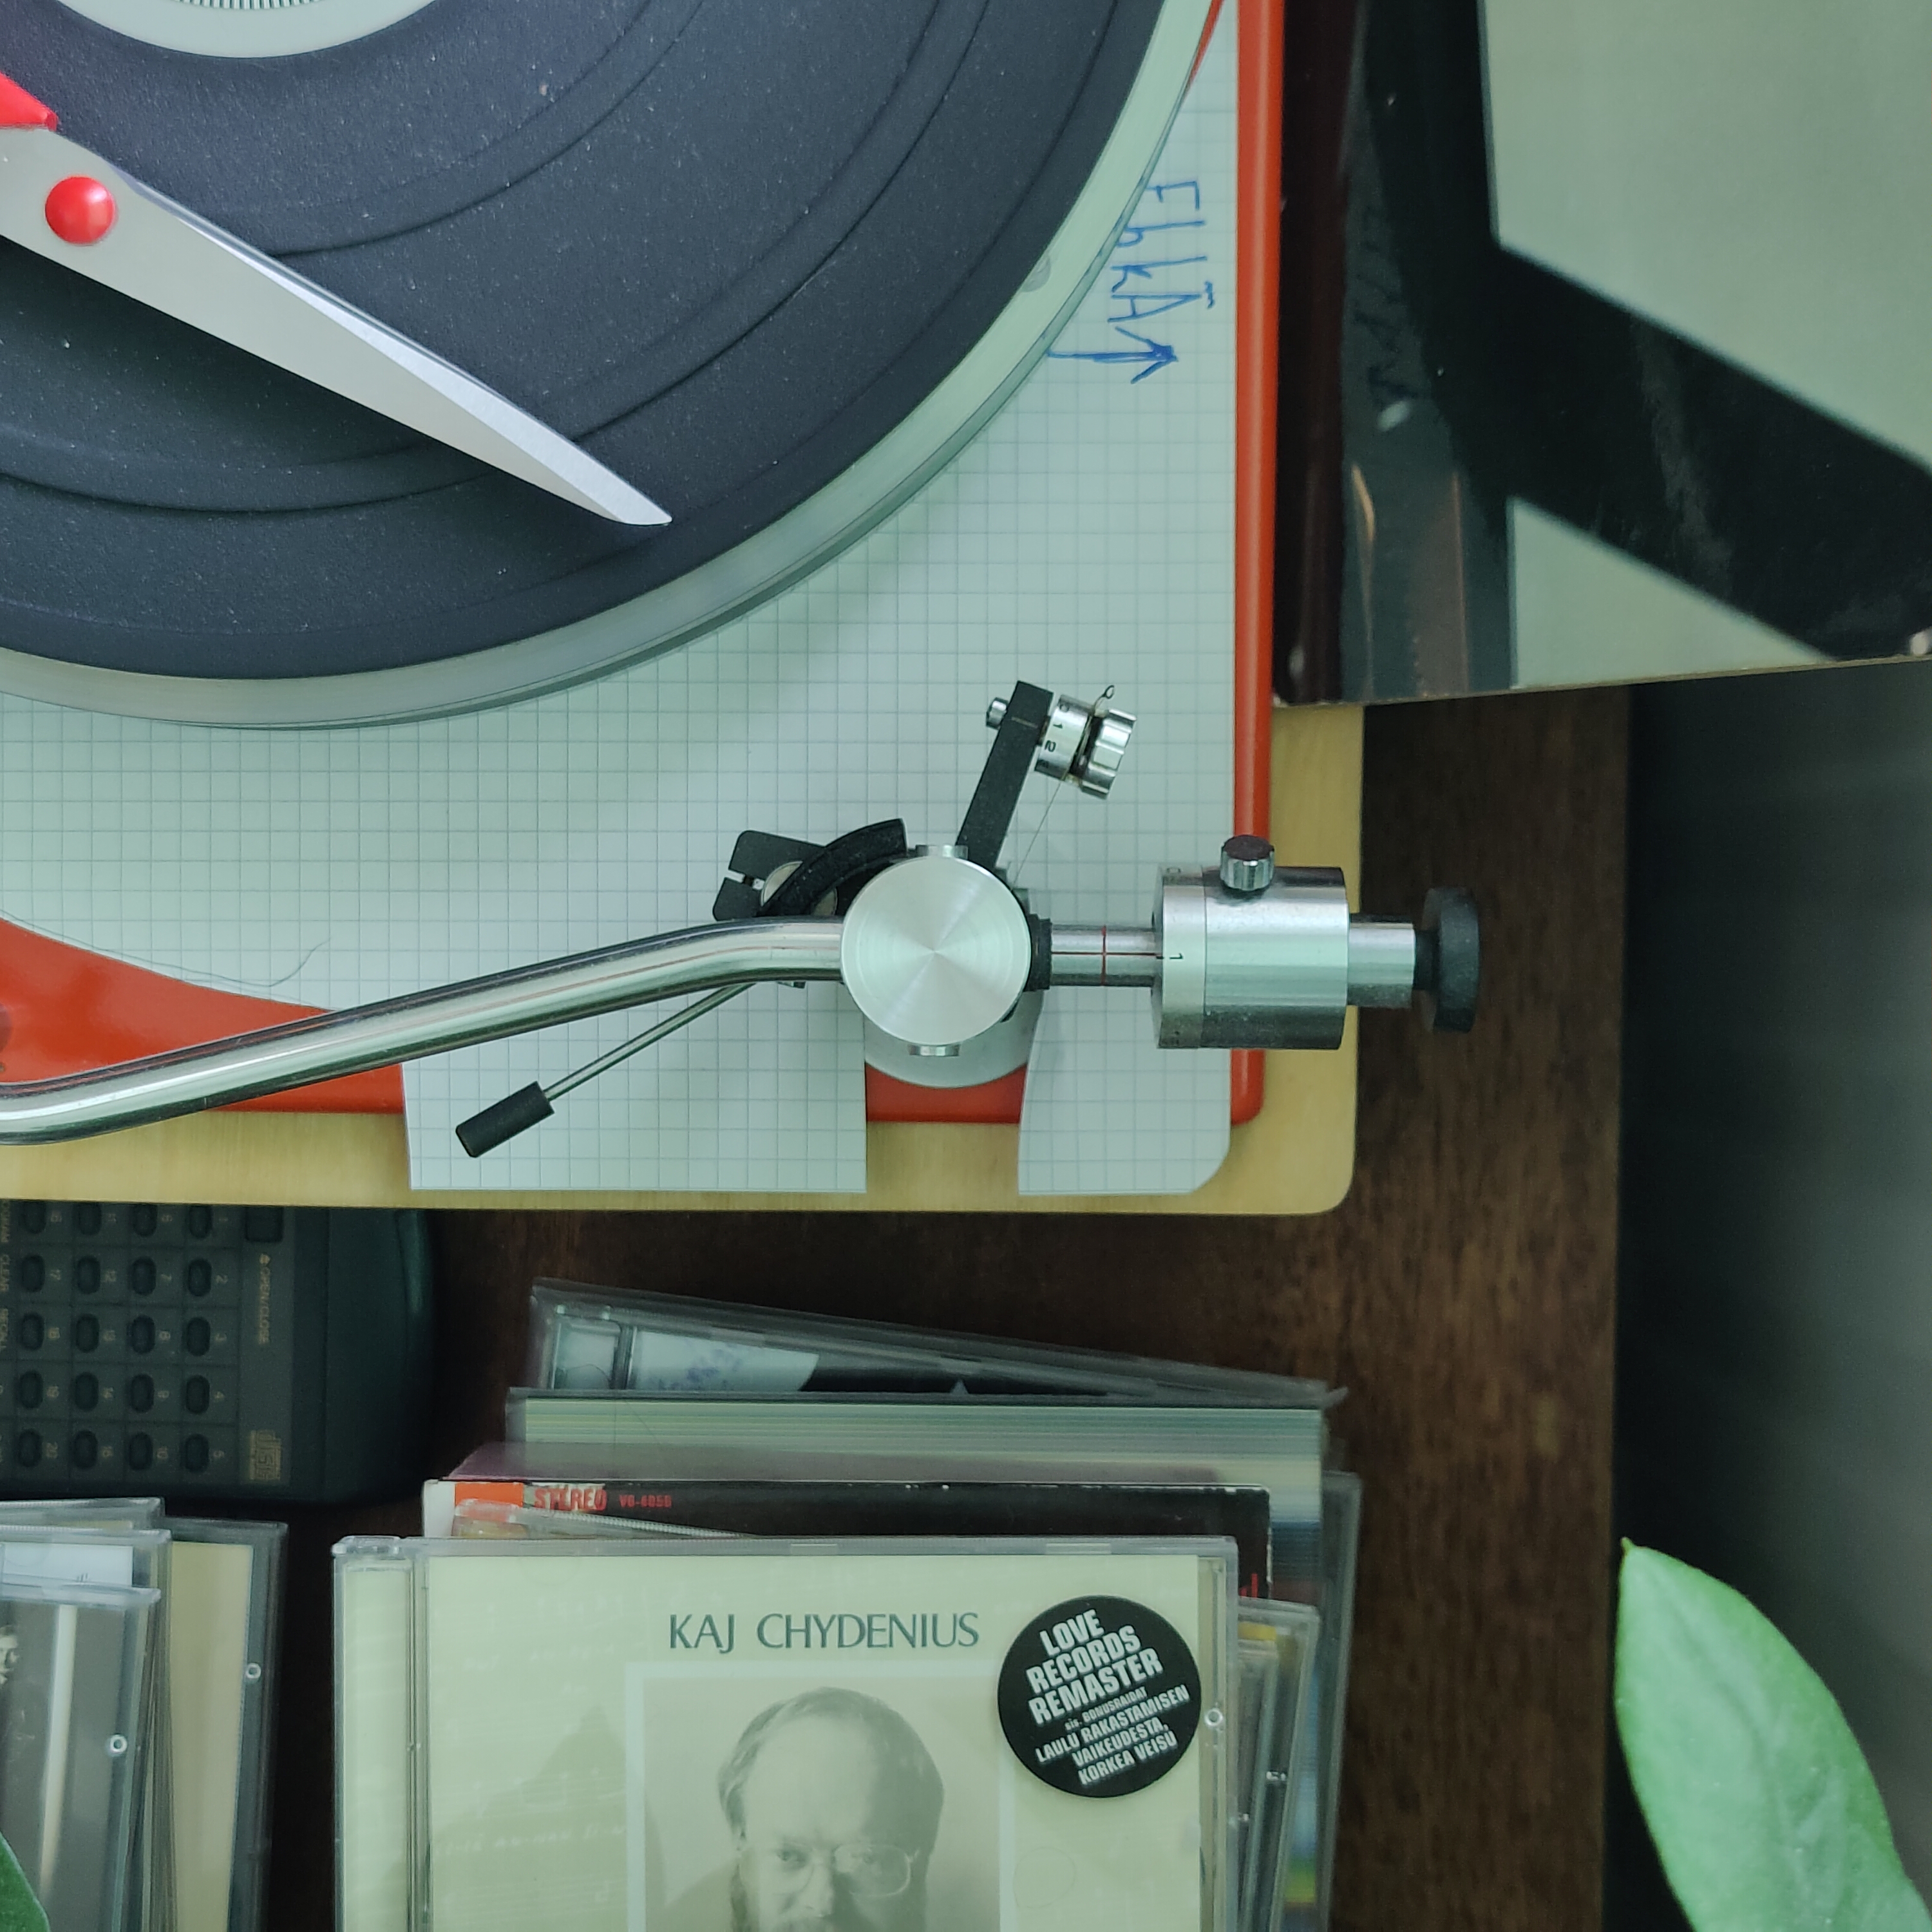
The test setup with reed switch held in place with blue tack, the magnet on the turntable platter held on by blue tack as well. The distance sensor is behind the tonearm. I made a sleeve for it out of electical tape. The sleeve dictates the detection beam width and detection distance(!). I haven’t tested how the sleeve protrusion from the edge of the pcb actually effects the detection, but I know from setting it up that there is a causation. The sleeve is also important because without it the emitter shoots waves in all kinds of directions and the reflections are out of control, causing the receiver to get false positives all the time.

5. Building box
This picture is from our family’s cottage workshop. My original idea for the box was to make it out of multiple layers of birch plywood, as is the plinth for my turntable. After that thought, I made a large cutting board out of an oak countertop and I got to use chisels in that process. I really enjoyed removing material with the chisels. I feel that the chisel is a portal into the world of early civization and in my mind I see myself shaking hands with generations upon generations of artesans. The chisel is a tool that has persisted and will persist. It is beautiful.
But I digress. This primordial chisel awakening guided me away from the industrial plywood to just wood. I thought I had enough leftover from the cutting board to utilize for neulatuntimittari, but after an hour of searching through our wood stock, it was not so. But I did find another piece of glued oak board as a consolation price! It had more than enough material for a small box.
Only problem being that I would have to glue two pieces together to give enough height for storing both Esp32 and the screen. Aftering working away at the hardwood for an hour or two I, for once, had a sober thought: I won’t bother making the second part of the box. The ESP shall reside behind the turntable.
Hours and hours of work! One expensive trinket if I was charging myself even minimum wage. The primary mistakes I did were messing up the order of operations. I should have drilled away all excess material before I even touched the chisels, but I wasn’t so wise this time. I also should’ve sharpened the chisels, the time saved overall would’ve been a net positive.
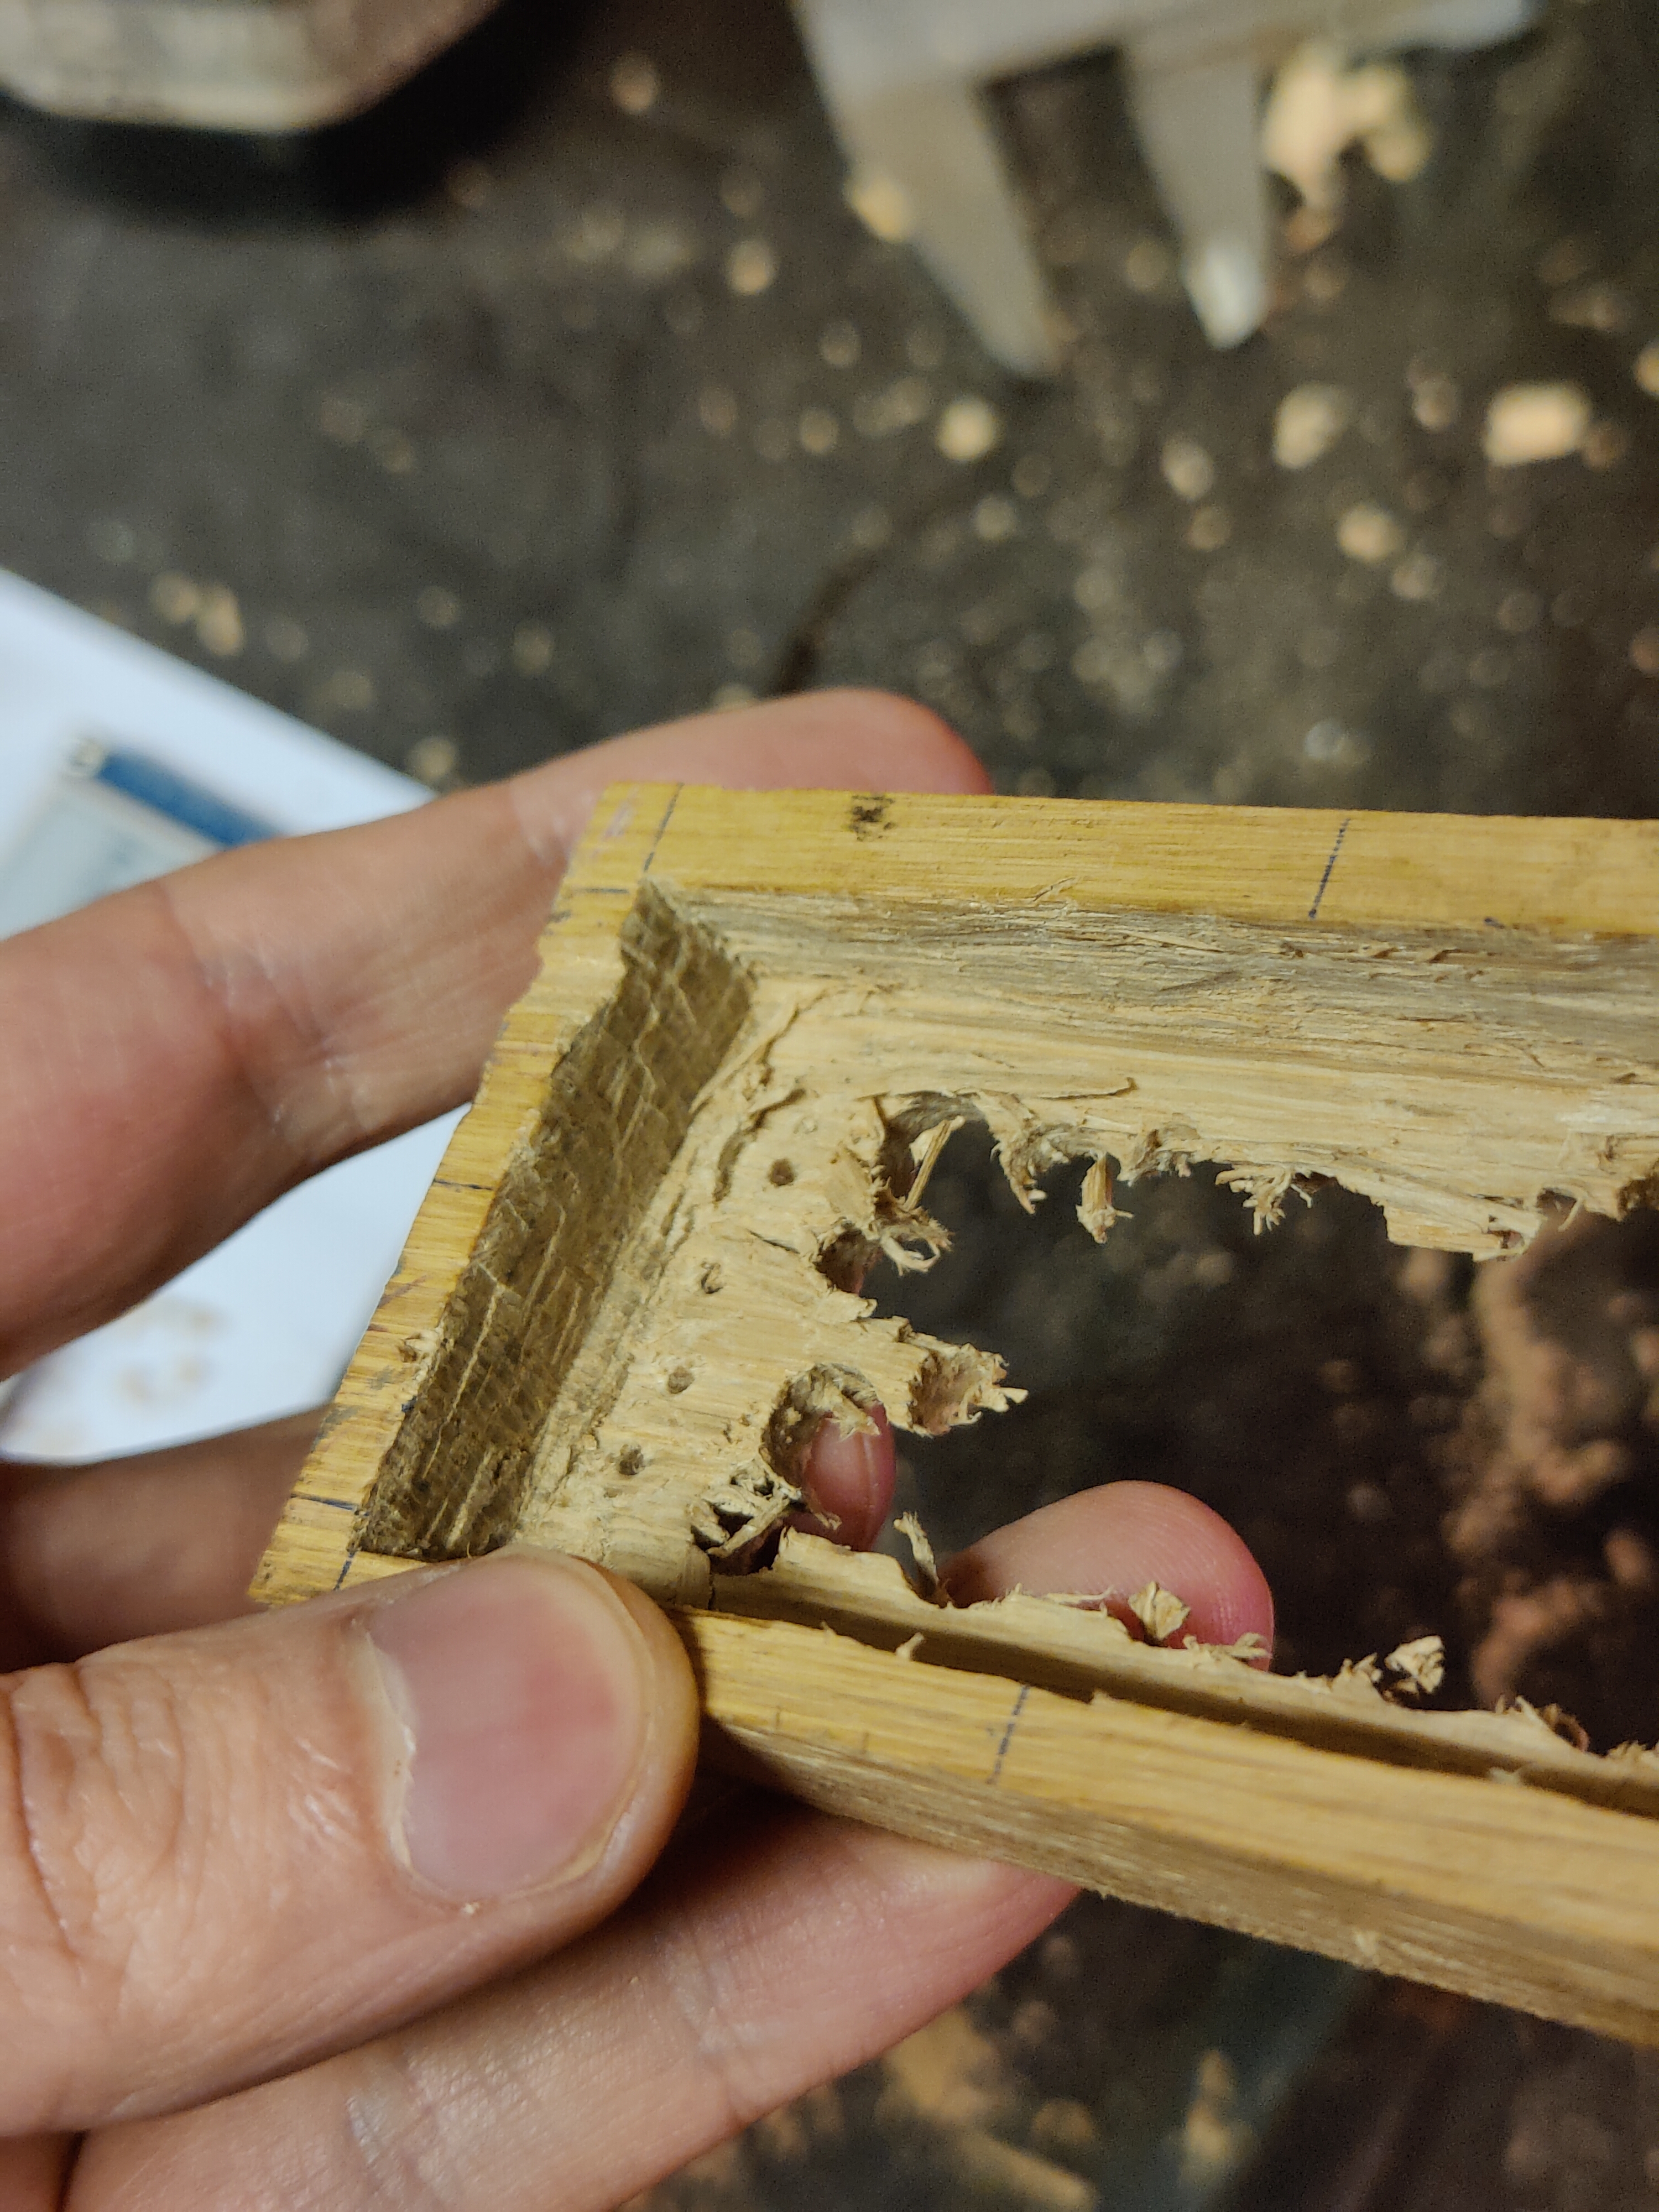
For the distance sensor I carved a neat little hole. It is a press fit.
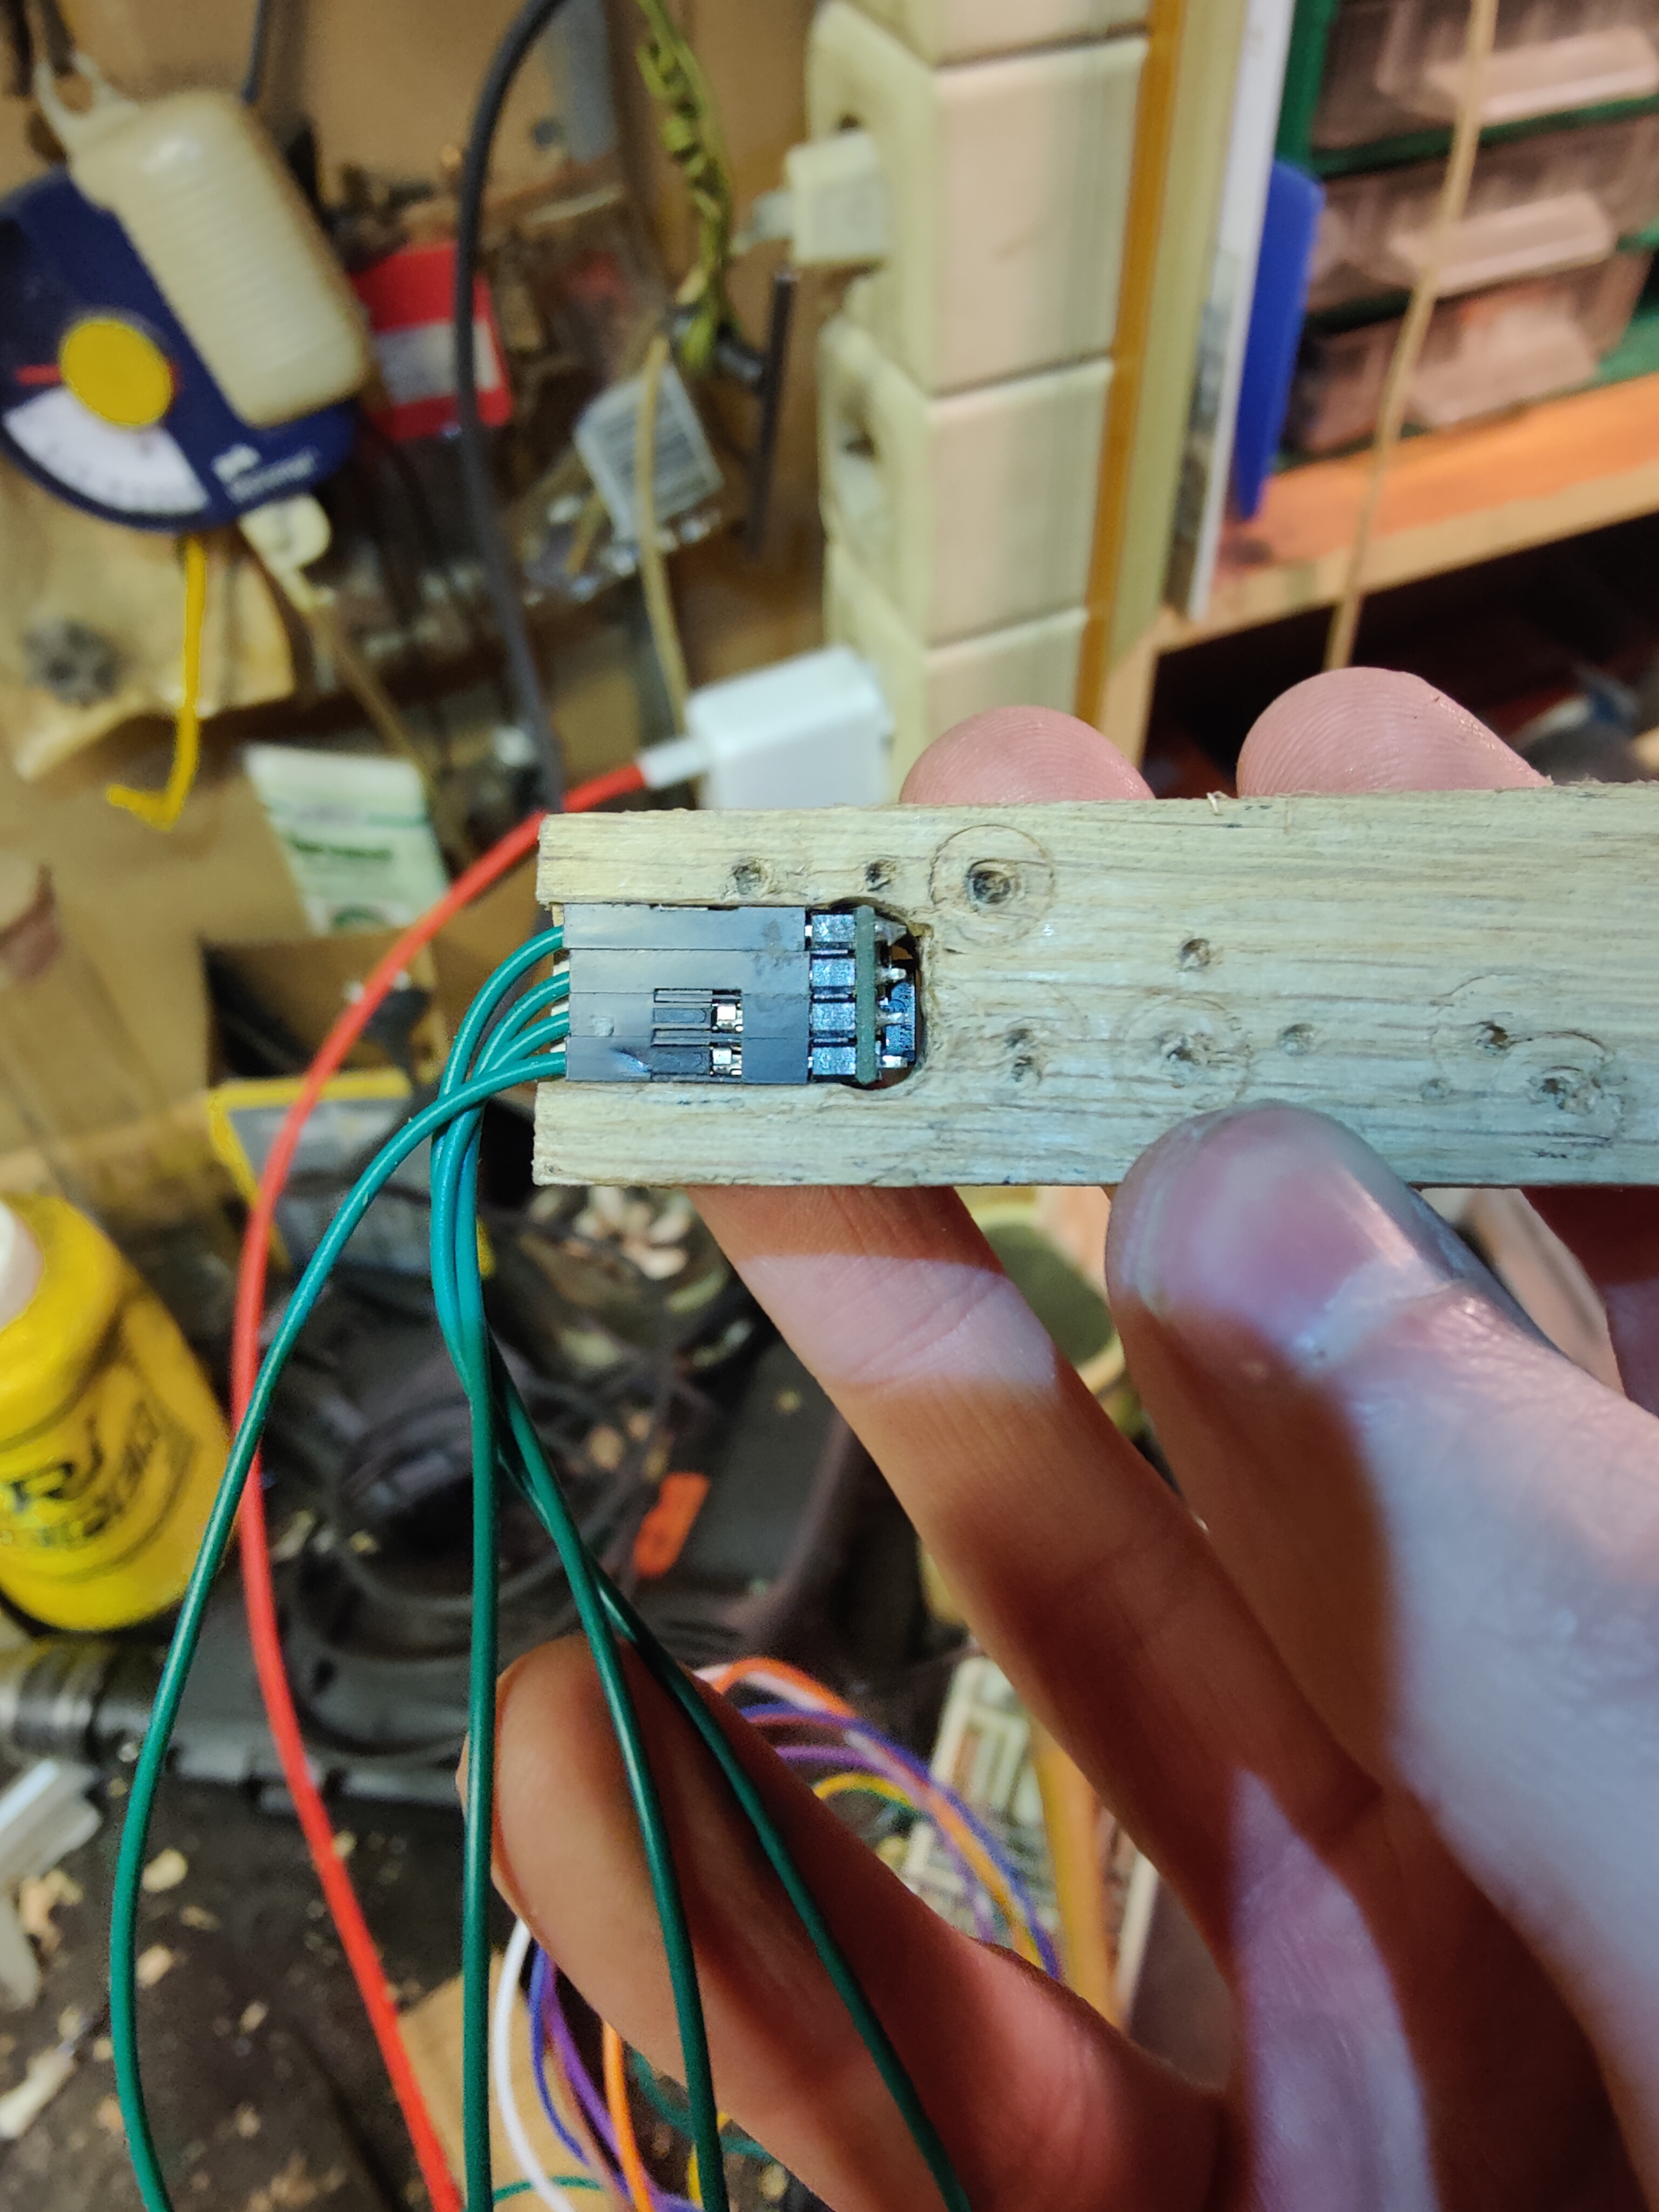
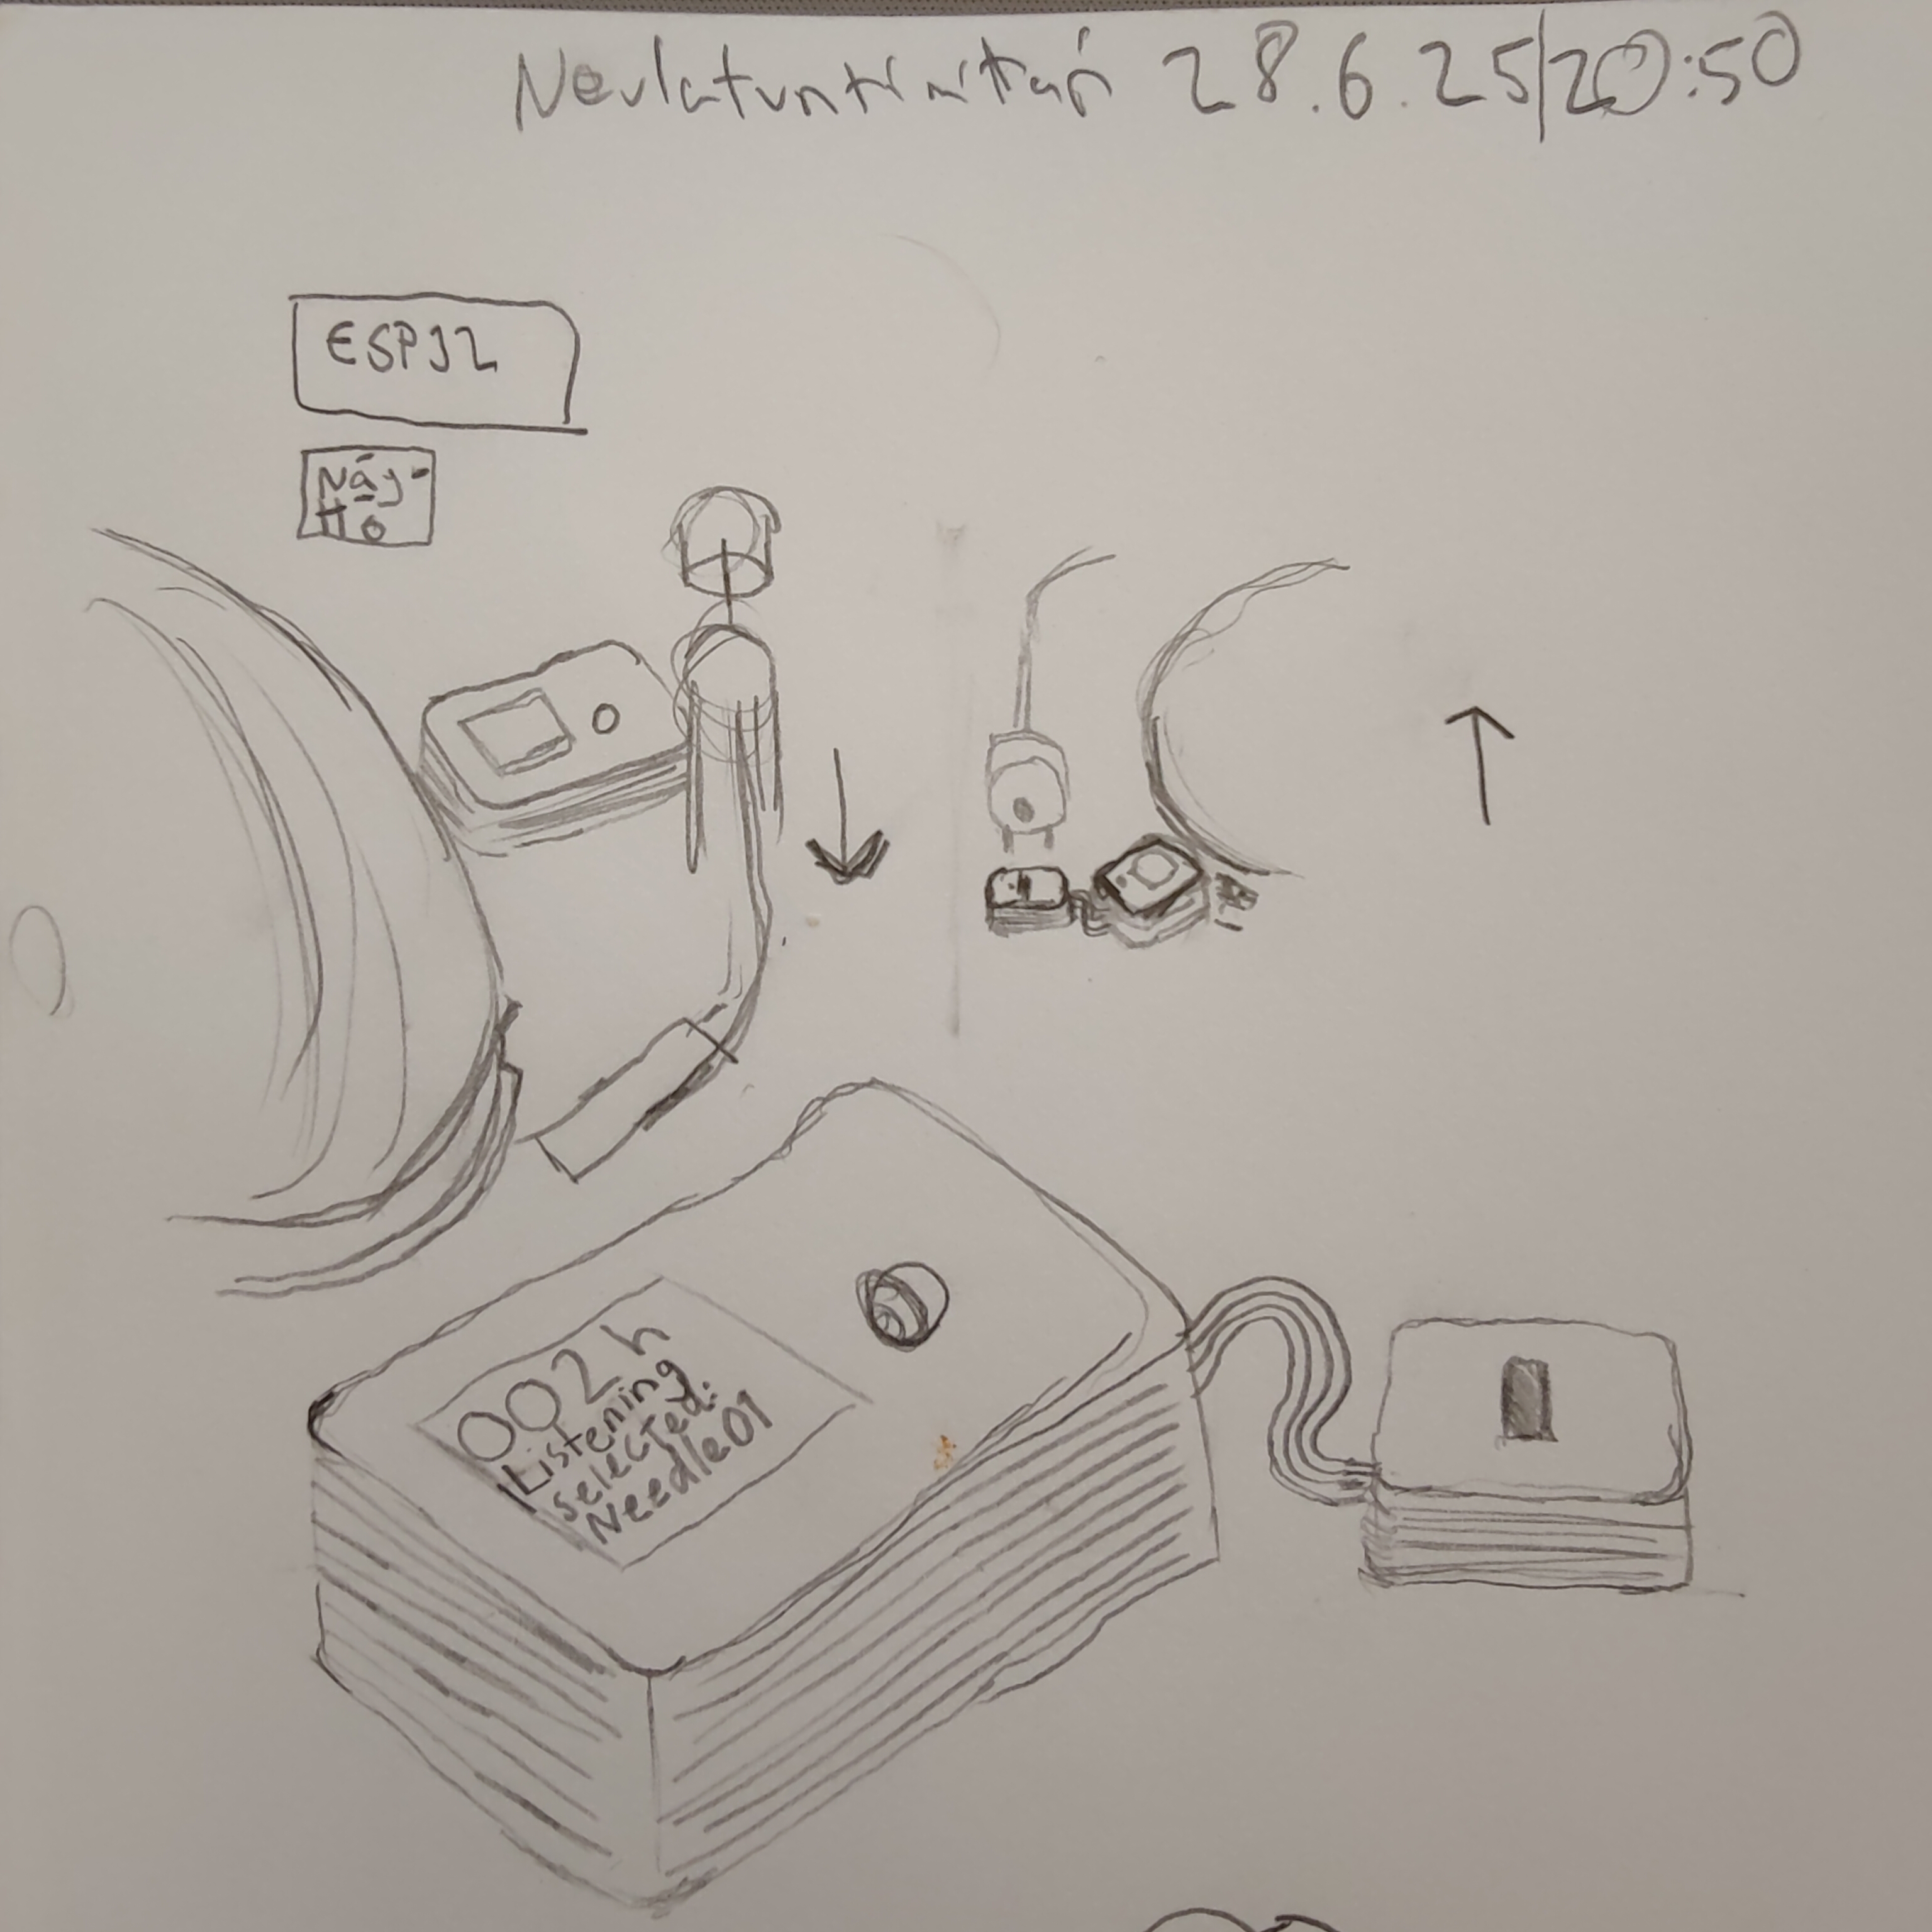
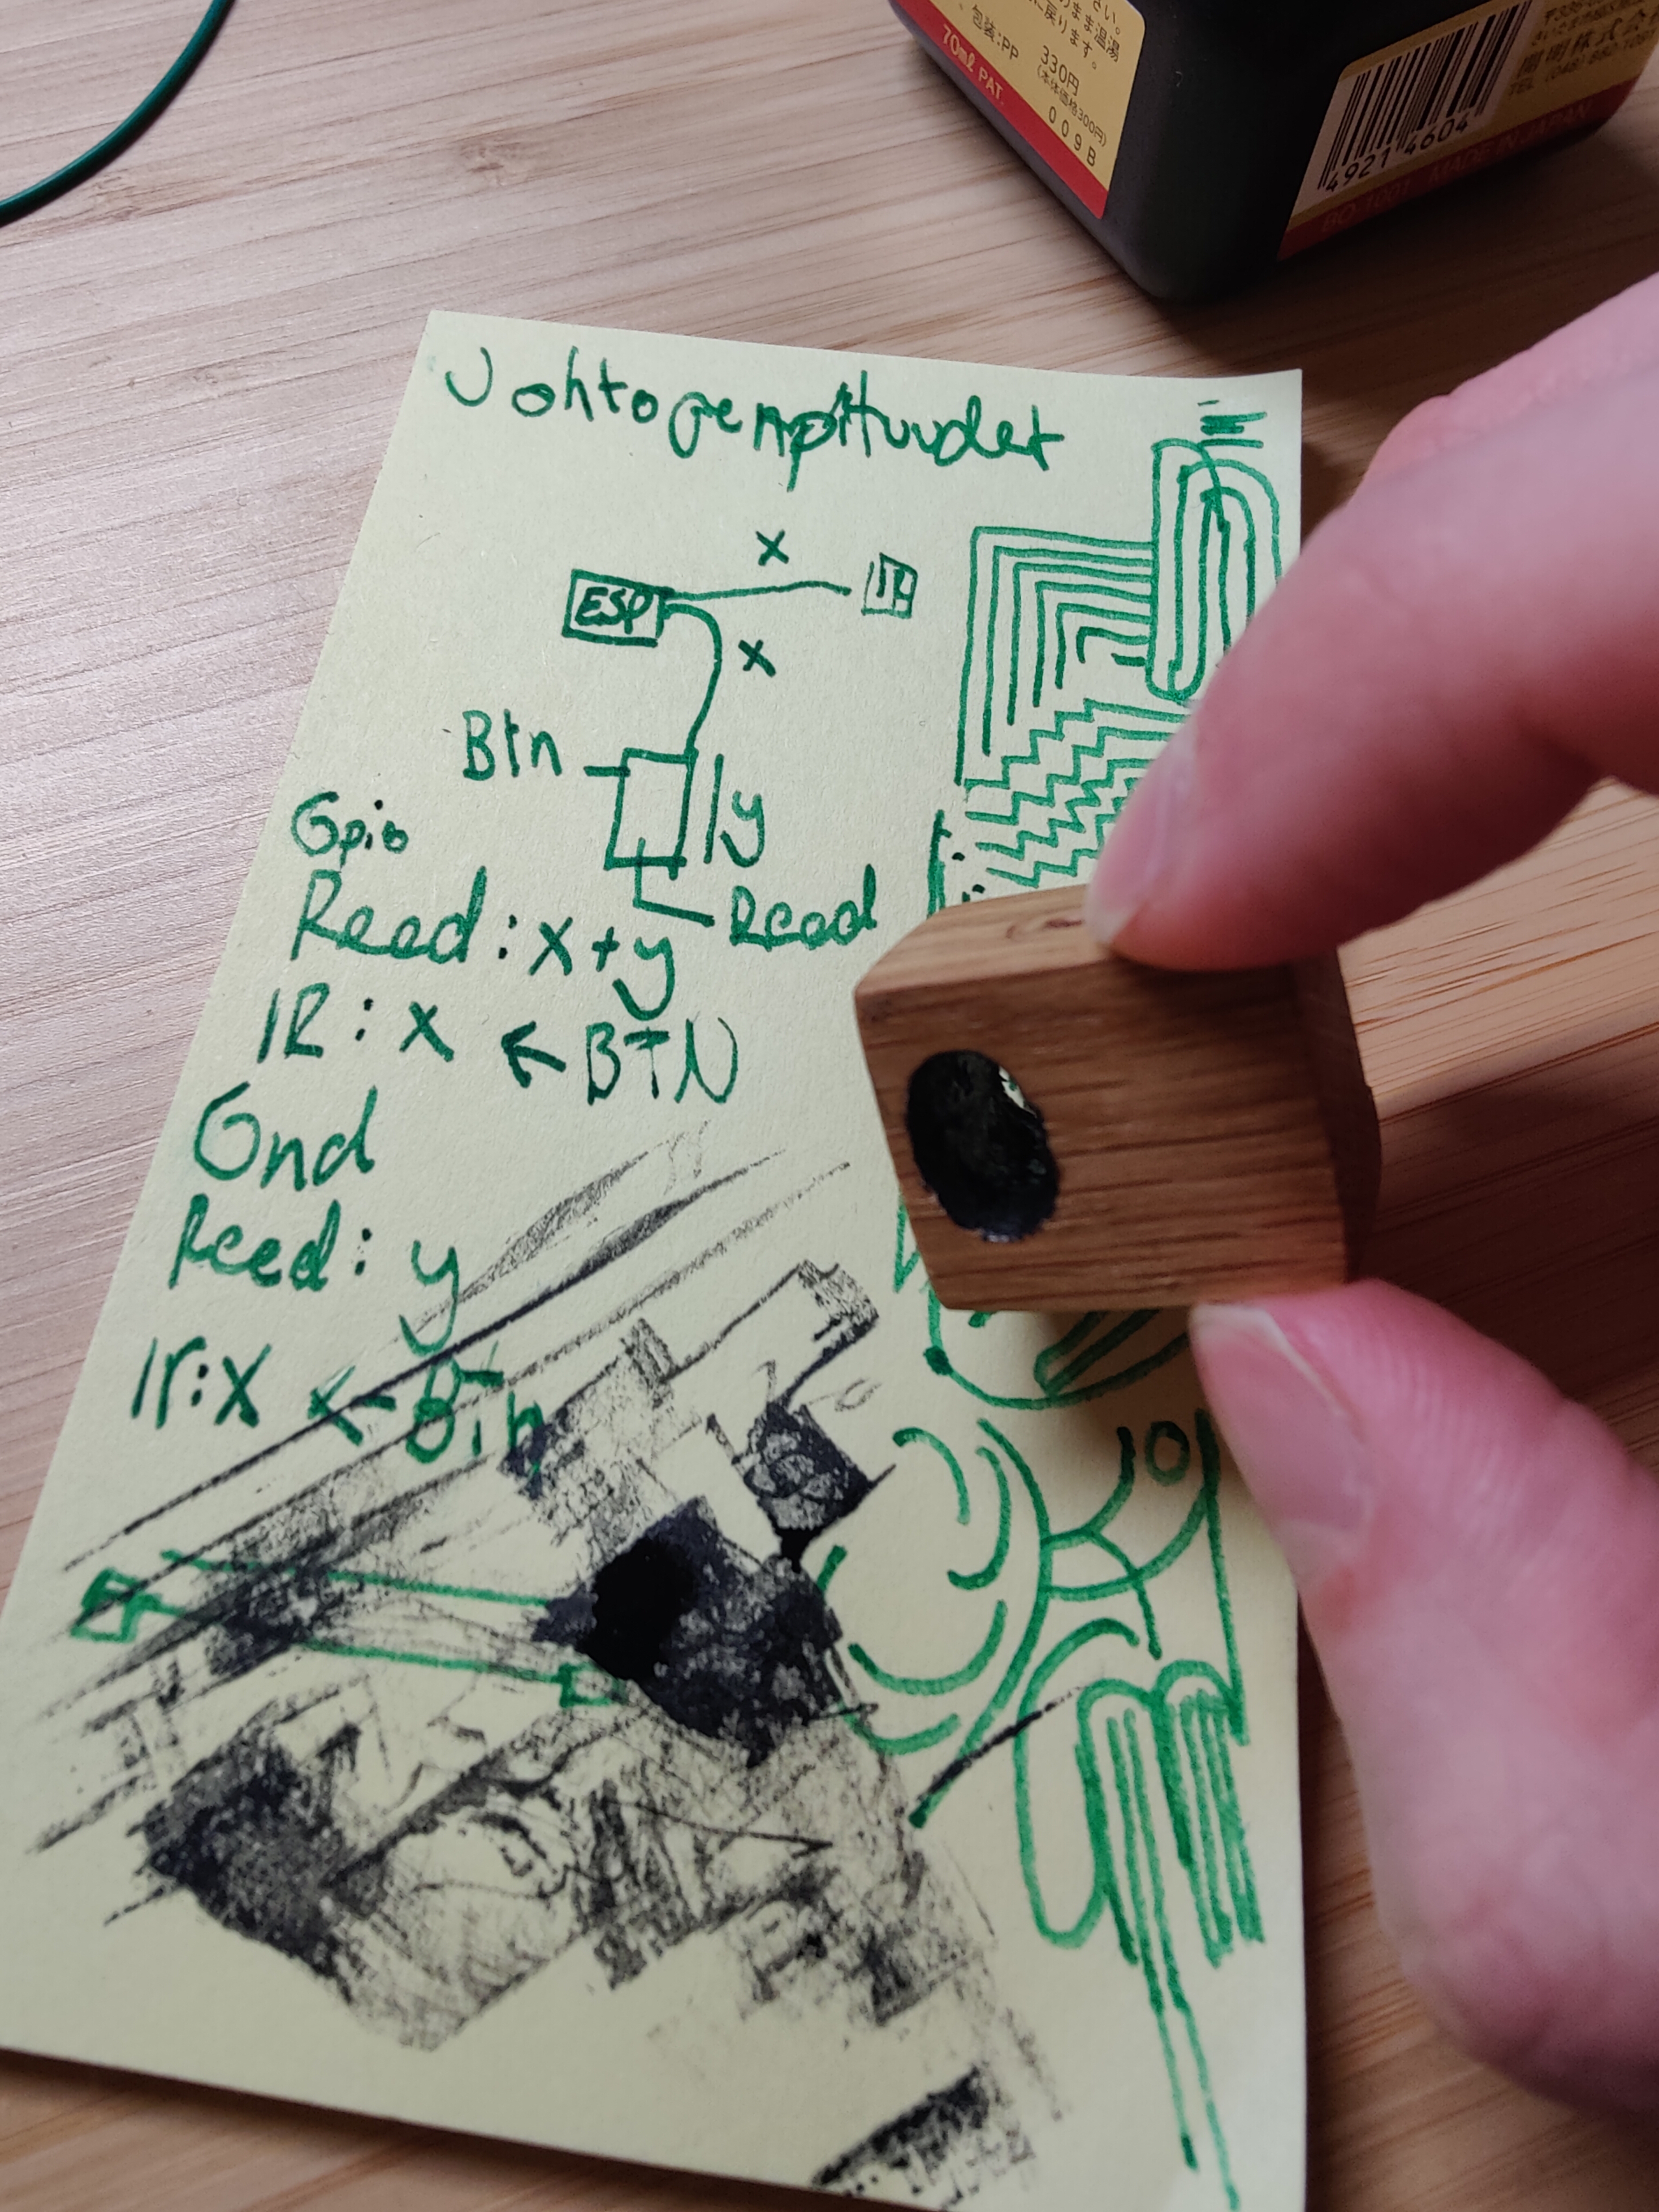
The IR sensor housing proved problematic, initially. The wood treated with linseed oil did not provide the ‘sleeve’ effect like the electrical tape. It was too reflective. I tried fitting the tape sleeve inside the hole but since it is a press fit, it was hopeless. I realized that my art hobby was useful here. Some japanese calliography ink (dries matte) applied with a toothpick to the interior cylinder of the housing did the trick. As a backdrop here some notes of mine detailing the lengths of wire in and about the prototype alongside my sketches.
6. Final product assembly
Here you see the final box, underside. The button I first hoped would be secure enough just with some wood glue. But it didn’t seem too trustworthy, some sticky button issues and therefore misclicks later I was sure another solution had to be found. And I found it in a humble combination of 2 layers of dual sided tape and a toothpich cut to length. Voila!
I had carved a cavity for the reed switch and I hoped again that I could glue it to wood. But something went awry between me handling the component and gluing it in place that it broke! The glass casing had shattered. Thankfully I had another one as a spare. Say no more to the eri keepers of the world! Embrace blue tack.
Oh! The screen is also attached with just humble dual sided tape.
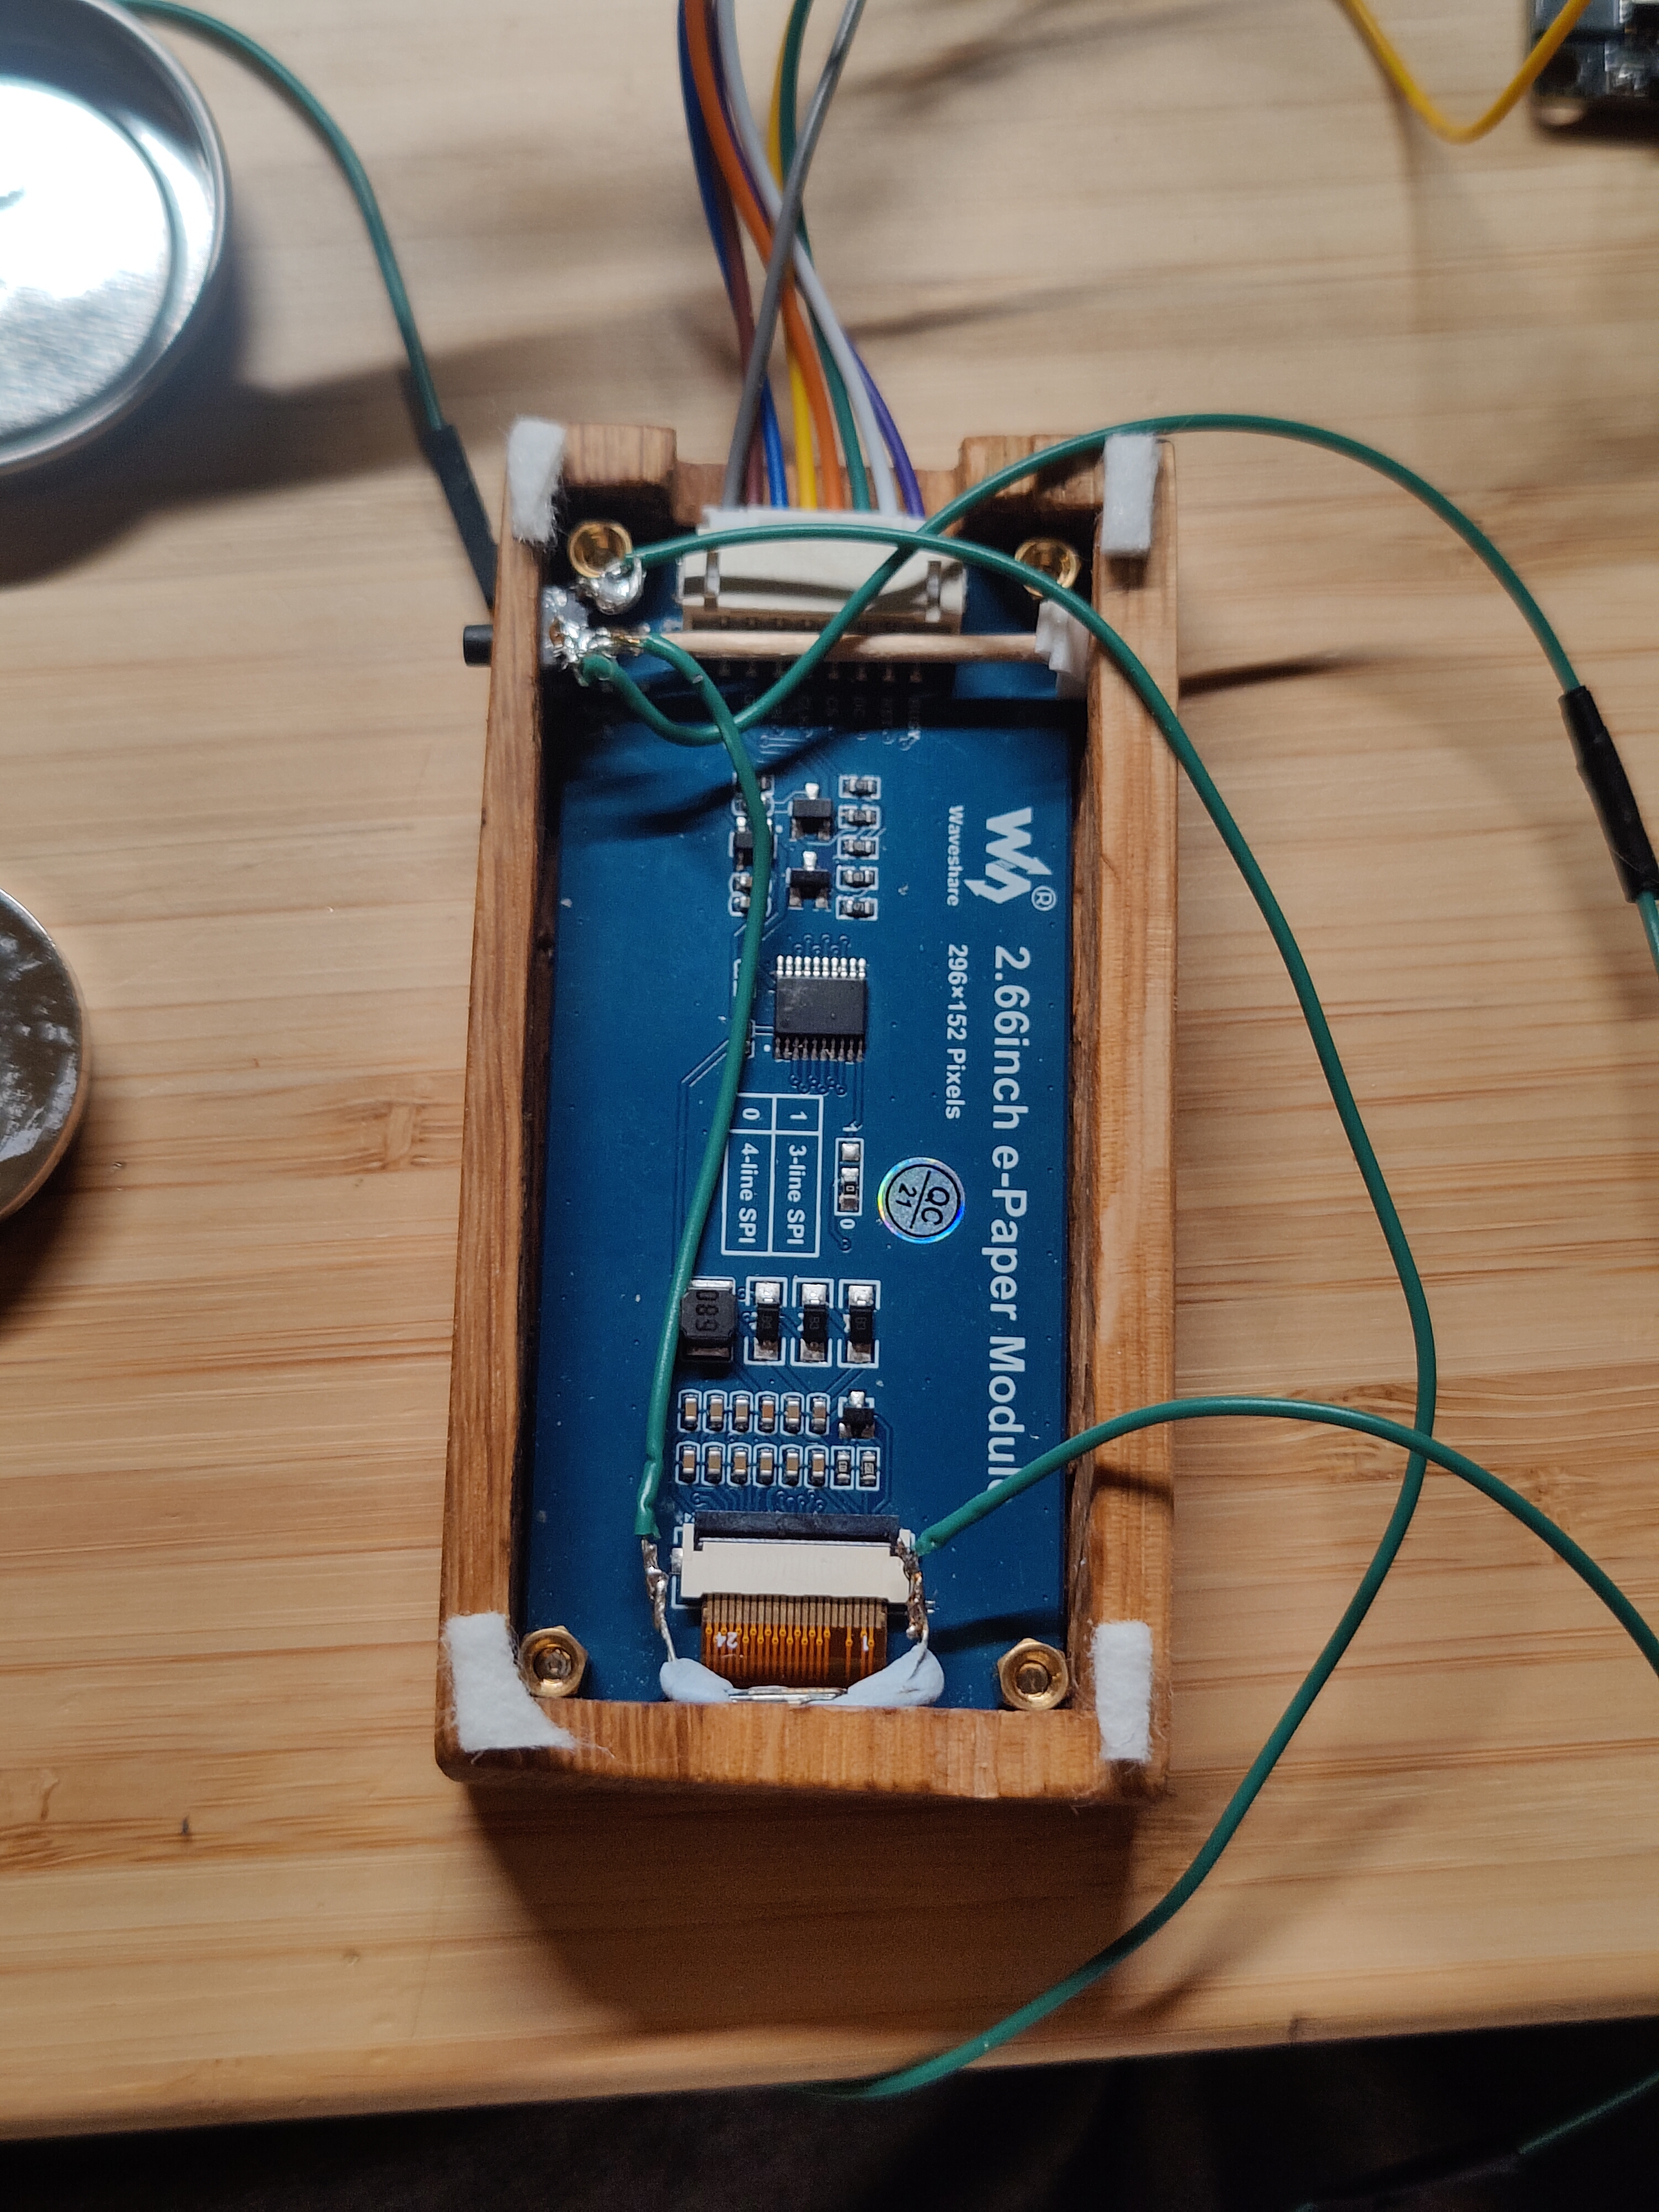
This image shows my preferred attachment method of dual sided tape. All the modules are fixed in place with the stuff. I just can’t get enough!
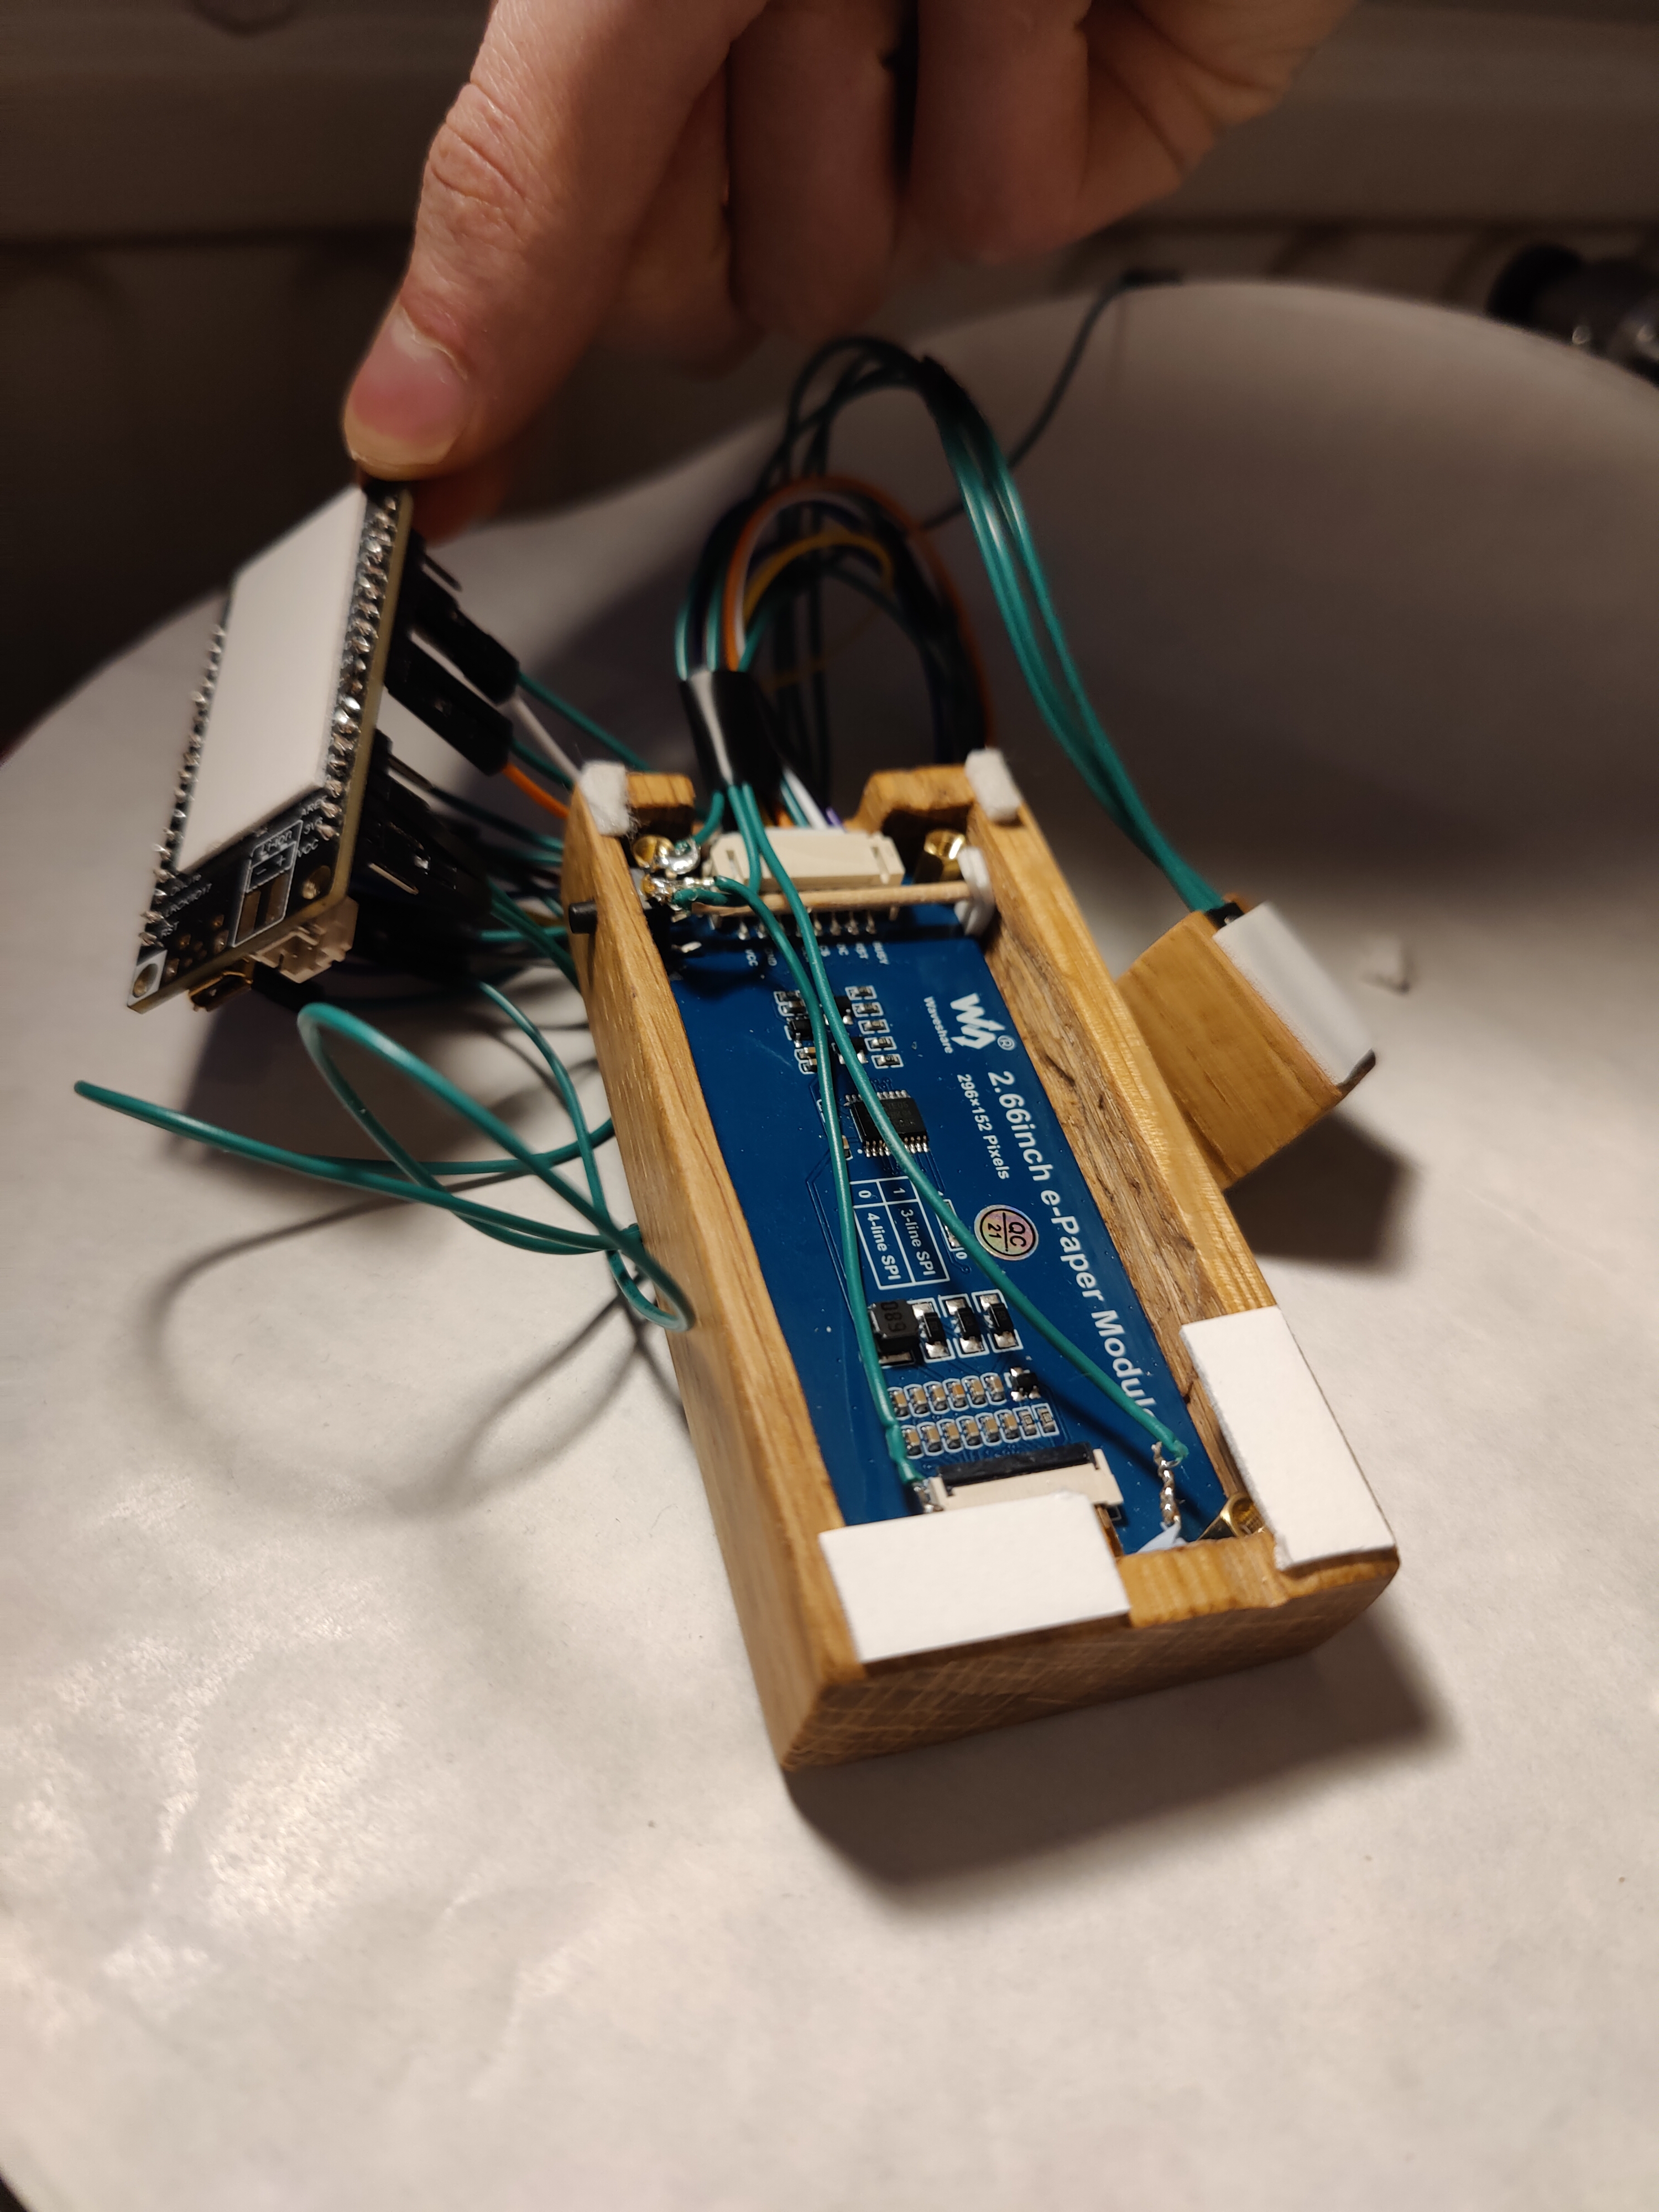
And here the final setup starts to form. The distance sensor it where it should. The cable goes into the wrong direction because if I flip it 180 to the correct orientation, the sensor doesn’t behave in an optimal way. I could resolder the rail to flip the pcb, but I don’t think I’ll bother.
nevermind the mess of wire in the shadows.
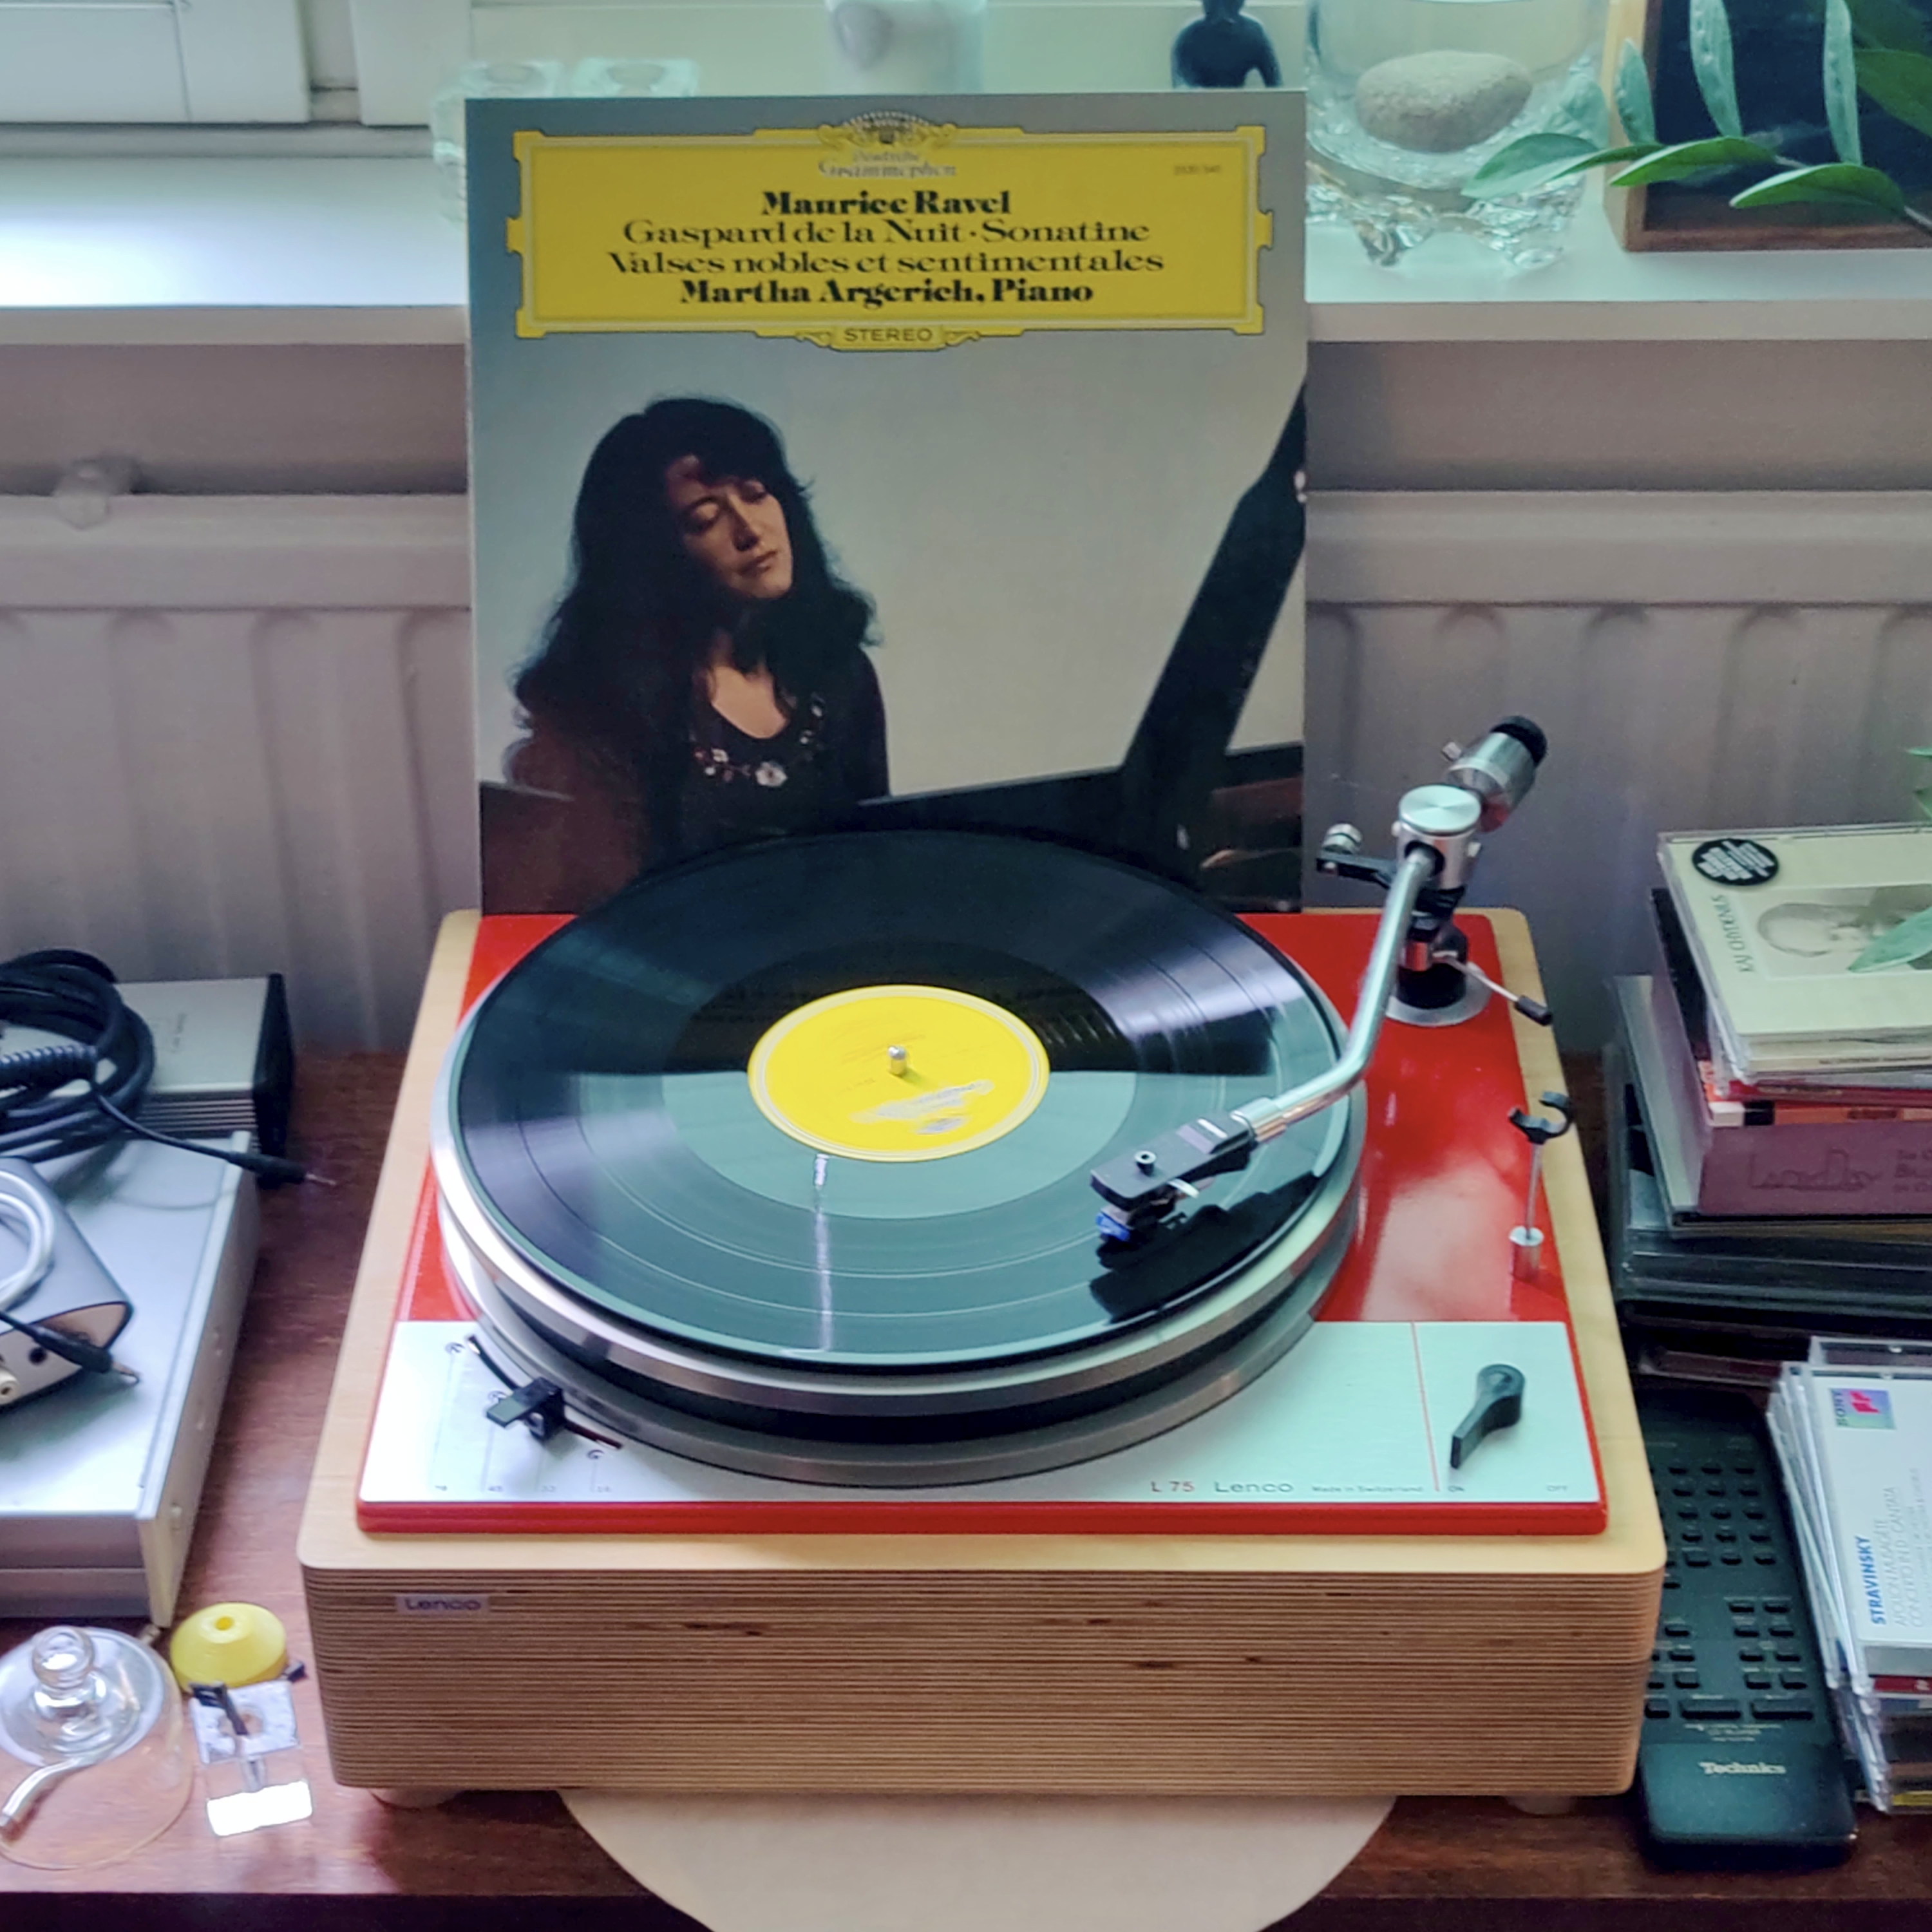
The main box looks quite good here! Nothing much to say. I wish I had the smaller waveshare screen, so it would fit onto the turntable properly. With the smaller screen the IR sensor box and screen box could be merged. I’m still thinking about giving the main box interior bewel the black ink treatment
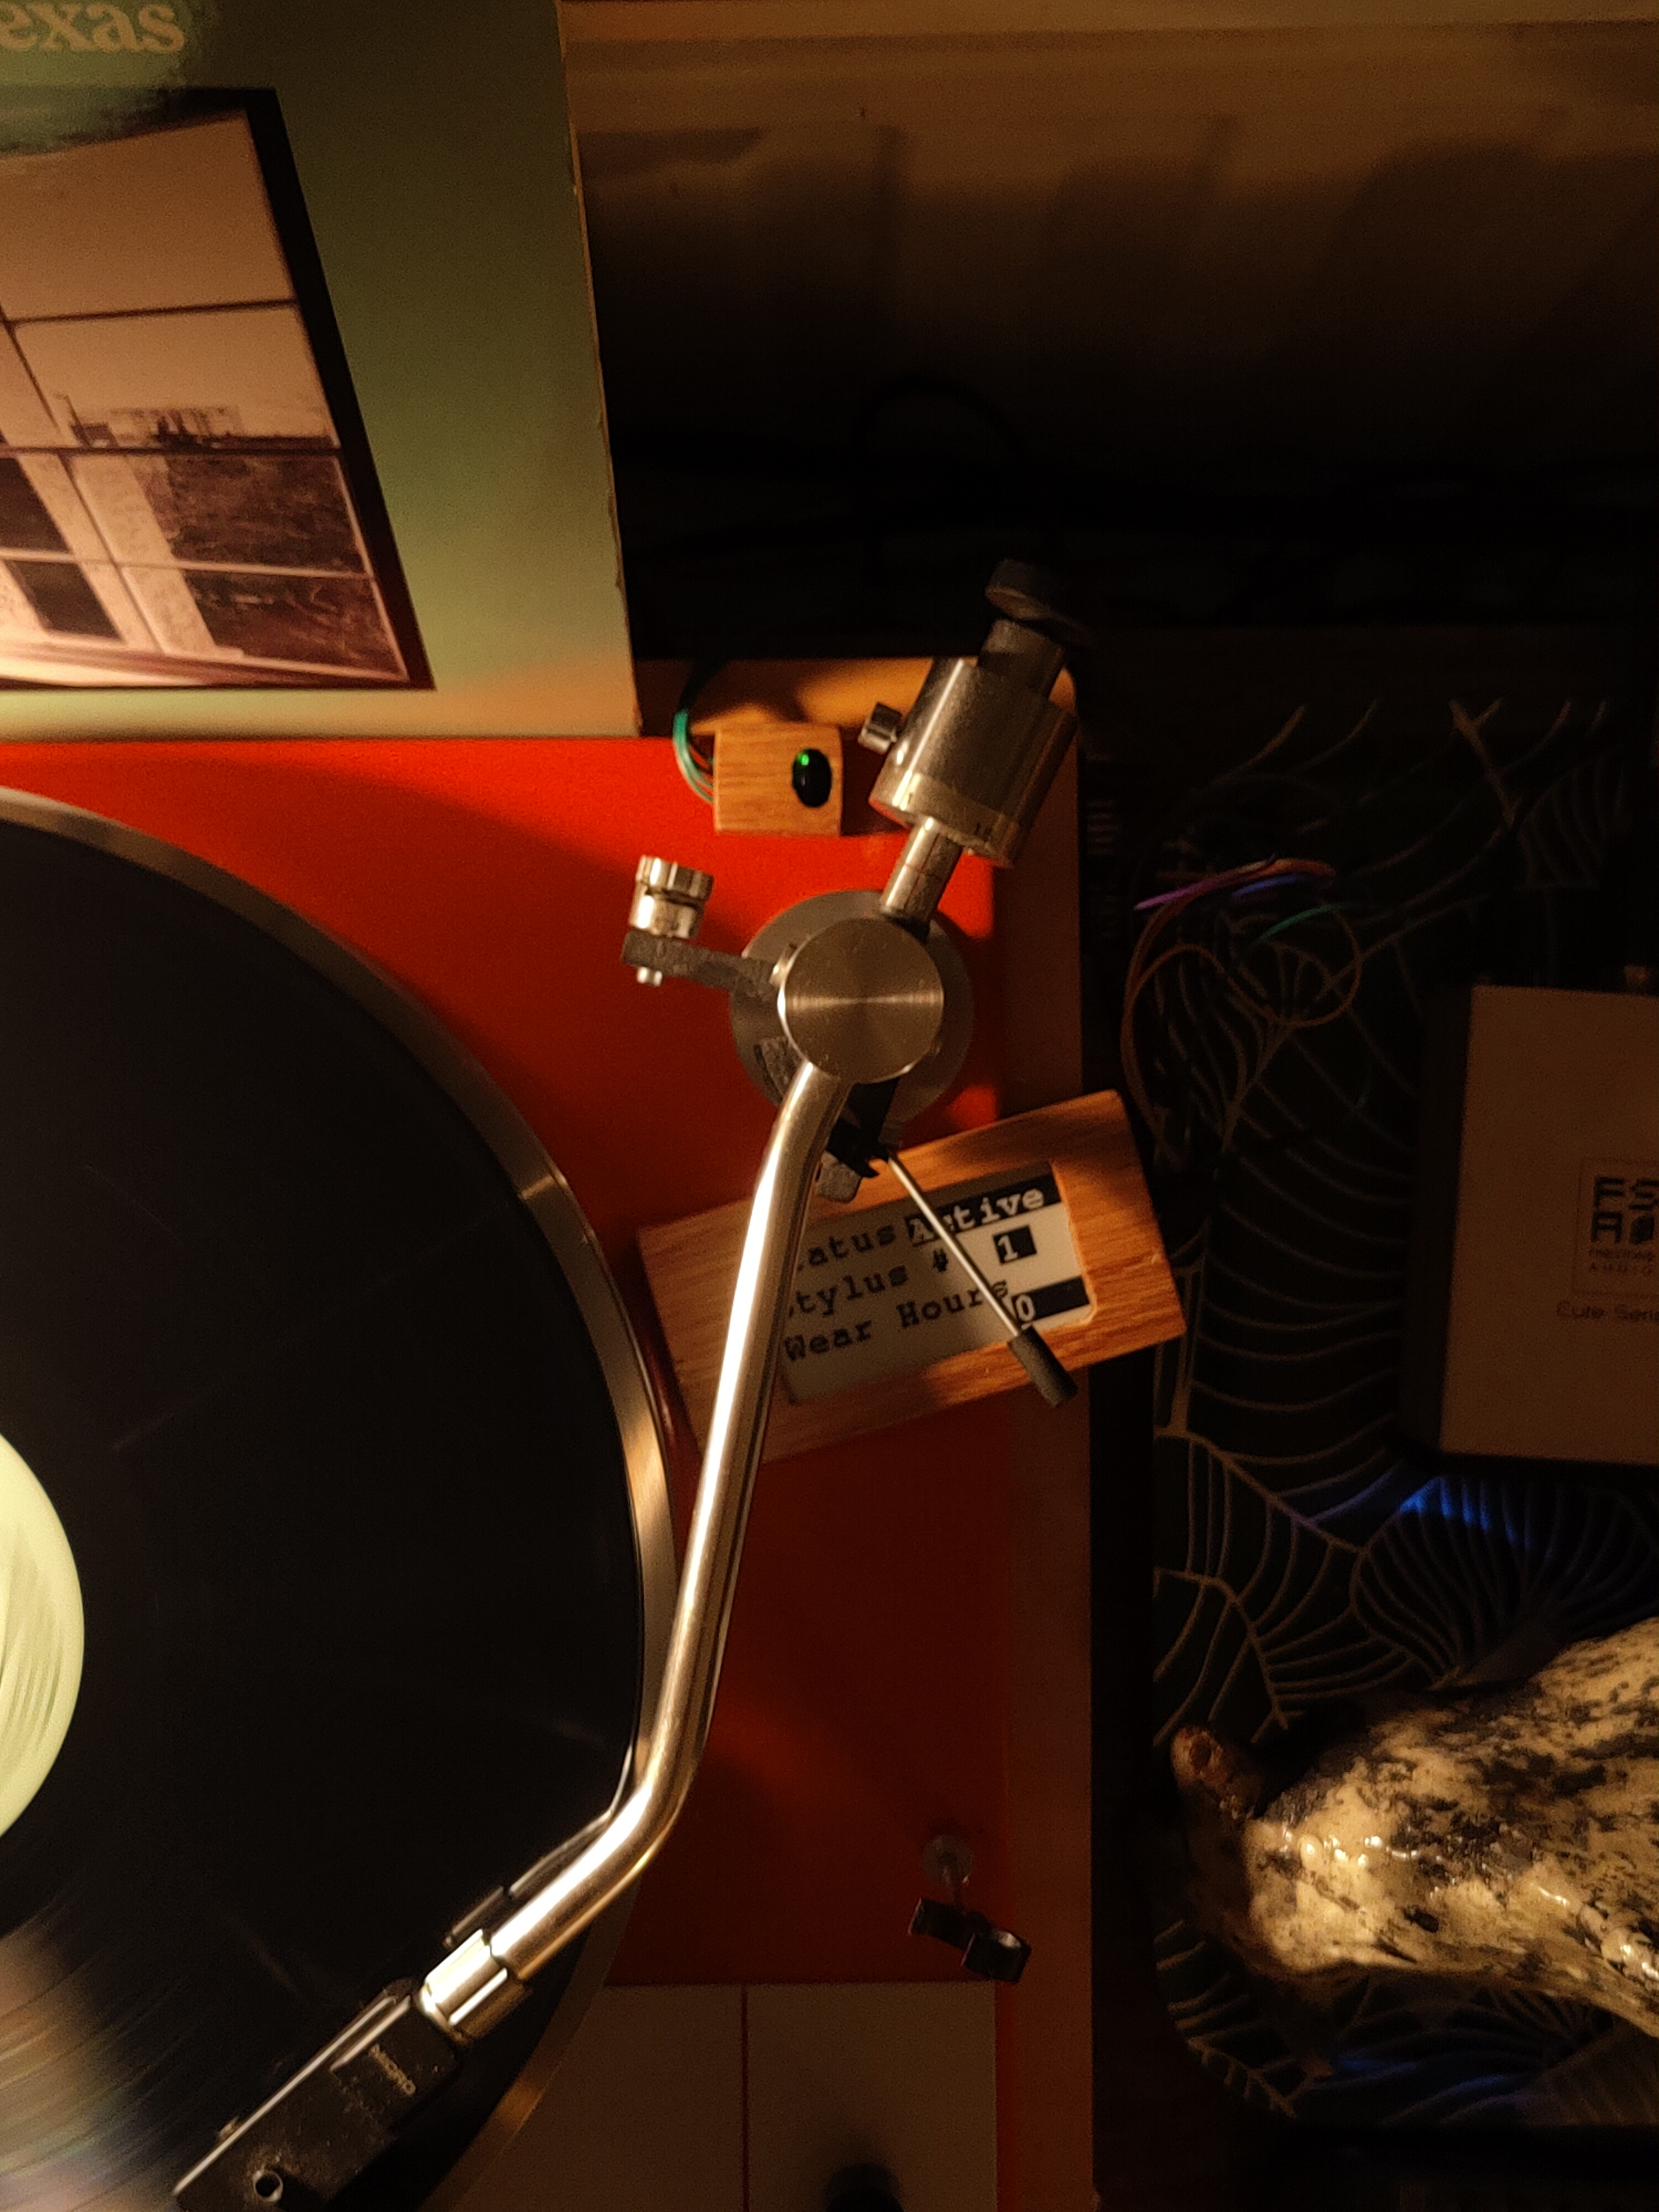
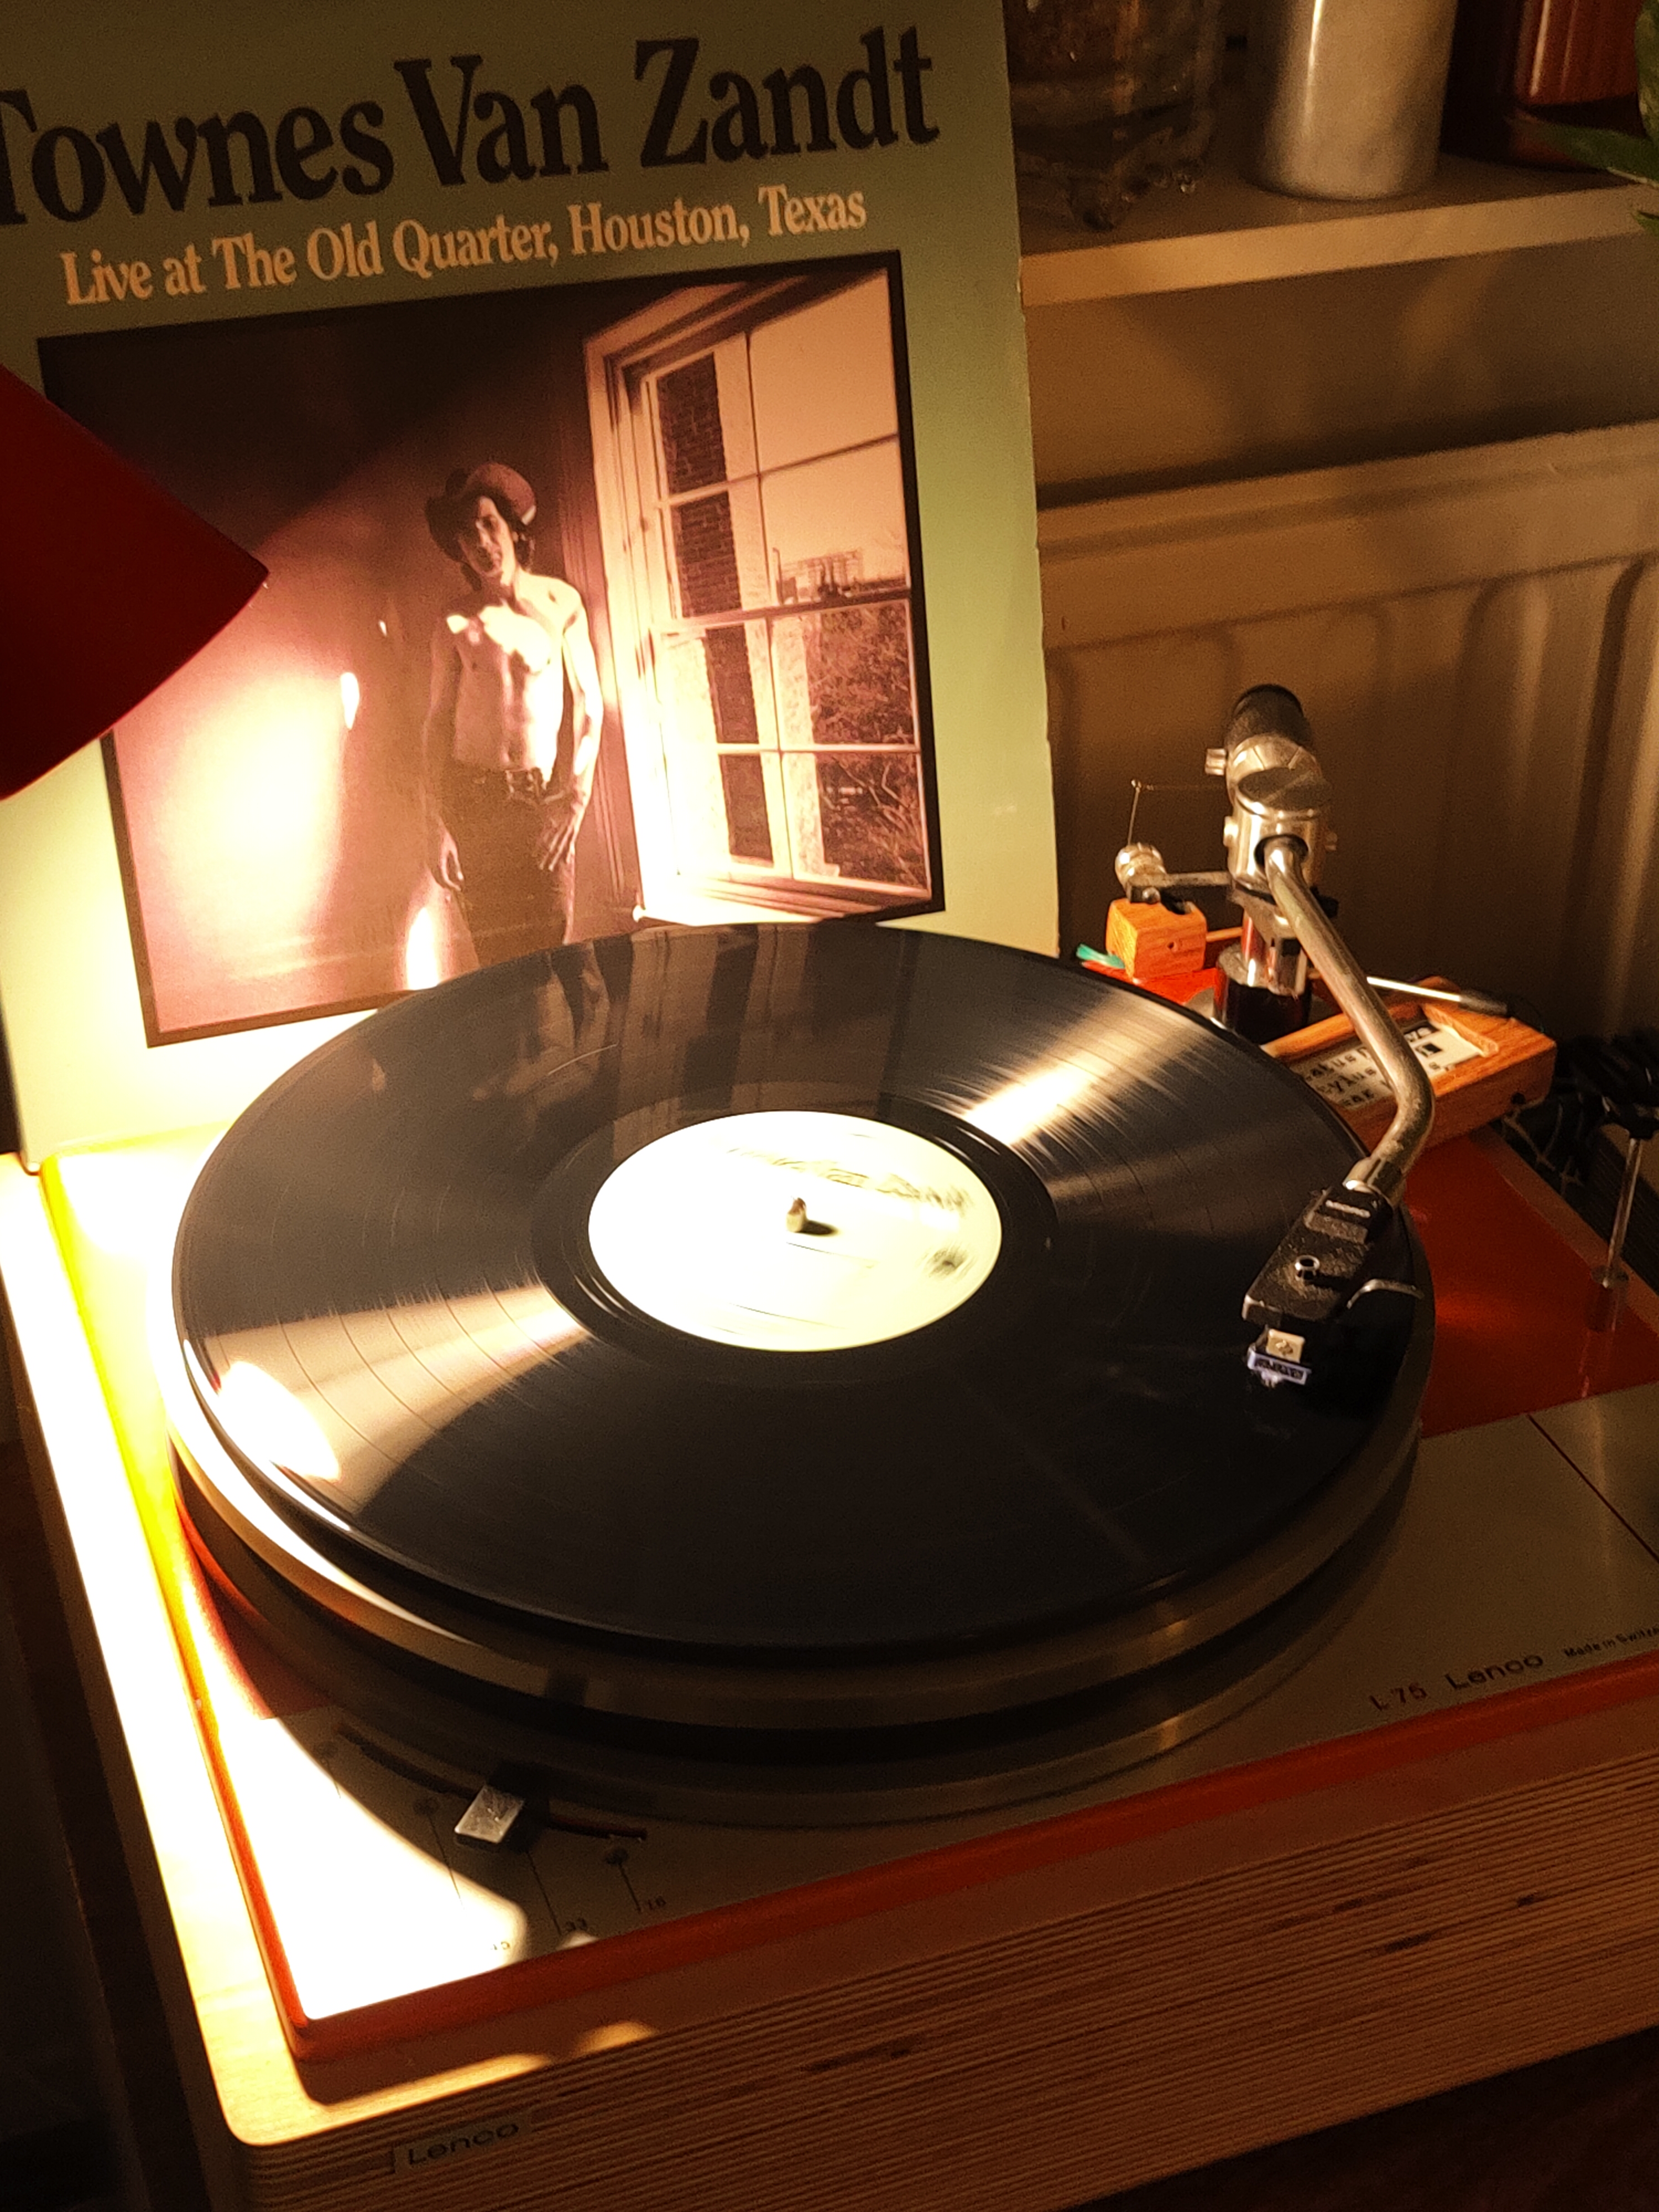
And here it is in action! Listening to good ol’ Townes. It looks nice and homemade, but I don’t think it is distracting in any way. I’m quite happy how it turned out. Everything works as specced and it mostly looks like my original plan. Even though I blasted through my own deadline. Now I’ll just hope that nothing explodes.